Wednesday, January 26, 2011

Banana cupcakes with Nutella frosting


I had a jar of Nutella in my cupboard that has been there for a long time.  Today I decided it was time use it, and since I love the combination of Nutella and bananas I decided to make banana cupcakes.  I also wanted to try out piping, something I've never done before.  It was a lot of fun even though what I did was pretty basic.  I think many piping creations are in my future.

For the banana cupcakes you will need:

1 1/2 cups flour
3/4 cups brown sugar
1 tsp baking powder
1/2 tsp baking soda
1/4 tsp salt
1/4 tsp nutmeg
1 stick of melted butter
2 eggs
1/2 tsp vanilla
2 cups of mashed bananas (about 4 bananas)

For the frosting:
8 oz of cream cheese
1/2 cup Nutella
1 tsp vanilla
2 cups powdered sugar

Preheat oven to 350 degrees F.  Whisk together the dry ingredients.  If you live at a high altitude make sure you are adjusting the amount of baking powder you are putting into your mixture.  Make a well in the center and set aside.


Use ripe bananas, I bought these a week ago and let them ripen on my counter top.
Mash the bananas using a fork or a hand held potato masher.  Add the rest of the wet ingredients and whisk them together until mixture is semi-smooth.
 Pour the wet ingredients into the well you made earlier.  Using a spatula mix the dry and wet together.  Don't use a beater because you don't want to over mix this recipe.  As soon as you can no longer see the dry mixture stop mixing.
Fill the cups about 3/4 of the way full.  Mine made a bit more than 12 cupcakes.  This is okay just make sure you fill the empty cups in the pan with water so that everything gets cooked evenly.

Cook for about 20-25 minutes.

In order to make sure they are done, insert a toothpick into the middle of one, If the toothpick comes out dry it is done.  Remove the cupcakes and allow them to cool.


To make the icing, beat together the cream cheese, vanilla, and Nutella.  Slowly add the powdered sugar.

Using a medium star pastry tip, place your pastry bag in a cup and using a spatula fill it with your frosting.
Don't fill the bag to the top, other wise you will have frosting coming out of the top while you are decorating.
Garnish the cupcakes with powdered sugar, and enjoy!  Store in an airtight container otherwise the frosting will harden.


Sunday, January 16, 2011

Rhubarb Tart

It seems that most recipes when using rhubarb shy away from using just rhubarb.  The tart flavor of the rhubarb is not to be feared, and in fact can be quit tasty.  I know rhubarb can be hard to come by so if you don't have any in your garden, or it happens to be winter just use frozen rhubarb.  I bought my puff pastry instead of making it from scratch.  This can be found in the freezer section of your grocery store.  Usually it comes with two sheets of puff pastry,  I like to get the pastry out of the package and let it warm up for about 20 minutes before starting.  This way, when you unfold the pastry it wont fall apart.  If you are using frozen rhubarb set that out for about 20 minutes as well before starting so it is slightly thawed and easier to deal with.
Rhubarb Tart
4 cups of chopped rhubarb (32 oz)
1 cup sugar
2 tbsp cornstarch
2 tbsp water
1/4 tsp cinnamon

For the crumble
1/2 cups flour
3 tbsp brown sugar
1/8 tsp salt
3 tbsp butter
1/4 tsp cinnamon

For a garnish
1 egg
Sugar in the raw

Preheat the oven to 400 degrees F.


Unfold the puff pastry, sprinkle a small amount of flour to prevent sticking and lightly roll over it with a rolling pin.  This is just to even out the pastry and get rid of the fold lines.  Don't fret over making it perfect and don't push down to hard.  If there are any cracks in your pastry drop a tiny bit of water on the pastry and gently push it together until the crack has fused back together.  Using a pizza cutter, or just a plain knife cut each sheet into four squares so you have a total of eight squares.  Place each square on a cookie sheet lined with parchment paper.  I cooked four at a time on a normal sized cookie sheet.  set aside while you make the filling and crumble.
 To make the crumble, mix the flour, sugar, salt, and cinnamon.  Cut in the butter with a pastry cutter or two knives.  mix until the crumble resembles a corn meal.
To make the filling, put the sugar, cornstarch, and cinnamon in a large sauce pan and mix.  Put all of your rhubarb in the saucepan and add the water.  Stir until the rhubarb is evenly coated and then cook on high.  Continue to stir while the mixture is cooking, you don't have to constantly stir just enough to prevent burning.  Cook until the mixture has thickened and is bubbling.  Remove from heat.
beat one egg and brush over all of the pastry squares.  In the center poke several holes with a fork.  If you don't do this the pastry will puff up where the filling is.

using a third cup scoop the rhubarb mixture, press it against the side of the pan to release any excess liquid and place it in the center of the pastry square.  Sprinkle the crumble mixture over the top, you can use as little or as much as you like.
Fold the corners over and try to press them together with your fingers.  This one wouldn't hold together, but it's no big deal.  Brush the outside of the pastry with egg and sprinkle raw sugar over the top.

This is the sugar I use, I think it tastes so much better then regular sugar.  It is a lot more expensive so I only use it for garnishes or coffee.

Place your pastry in the oven and cook for about 15 minutes, or until golden brown on top.  Let the pastry cool for 5-10 minutes....my husband bit into one that was fresh out of the oven and just about burnt his mouth!  You can garnish this with  whipped cream or eat with vanilla ice cream.

Saturday, January 15, 2011

Snicker 'heath' doodle

My favorite cookie is the snickerdoodle.  I decided to do a little research because I wanted to know where the name originated from.  Needless to say.....I was dissapointed.  Once source said it came from the German word, schneckennudeln, which means snail noodles.  That can't be right, first of all snail noodles makes me think of snail poop...and why would you name such a good tasting cookie after snail excrement?    Another source stated that the word schneckennudeln referred to cinnamon rolls, which makes more sense because they look like snails,  and snickerdoodles taste similar to cinnamon rolls.  At this point I stopped looking for the meaning of schneckennudeln and  was satisfied that the meaning had been lost in translation.  In this recipe I  tried to make it more like a Snickers bar by adding heath bar toffee bits, that way, in my own head the name snickerdoodle made more sense.

Snicker 'heath' doodle
1 cup unsalted butter cubed
1 cup granulated sugar
2 eggs
2 3/4 cups unbleached flour
2 tsp cream of tartar
1 tsp baking soda
1/4 tsp salt
1 cup heath bar toffee bits
3 tbsp sugar
1 tbsp cinnamon

Heat the oven to 400 degrees F.

Using an electric mixer with a whisk attachment cream the butter.  Gradually add the sugar with the mixer on high.  Beat in the eggs one at a time.
In another bowl sift in the flour, cream of tartar, soda, and salt.  Because I live at such a high elevation I used a little bit less than 2 tsp cream of tartar....about 1 3/4 tsp.  If you don't make this adjustment in a high elevation you will end up with flat and crispy cookies.
Blend the flour mixture slowly into your mixer, 1/2 cup at a time.  After you have added about 1 1/2 cups of the flour mixer switch the attachment on the mixer to a paddle, or flat beater and add in the remaining flour.  Scrape the sides and add your toffee bits, and mix for another 2-3 minutes on a medium speed.


Shape the batter into balls, I like using a cookie scoop because that makes my cookies more uniform and therefore they cook more evenly.  Using the same bowl you had your flour mixture in, add the 3 tbsp of sugar and 1 tbsp of cinnamon.
I usually do three at a time because it goes faster.  Just  throw the cookie balls in the cinnamon mixture and swish the bowl around until the balls are completely covered.
Place them on a cookie sheet that has been sprayed with PAM about 1-2 inches from each other.  Place on the middle rack of the oven and set your timer for about 6 minutes.  When the timer goes off and the cookie looks done, check it by lightly pressing down with one finger on the cookie.  If the cookie springs back up it is done.  If you don't trust yourself to judge if the cookie is done this way you can put a tooth pick through it.  You may have to leave the cookies in for another 2 minutes.

When the cookies are done pull them out and let them cool for a minute on the sheet.  Then take them off of the hot cookie sheet with a spatula and let them cool on a rack for about 10 minutes.  They may be a little gooey on the inside right when they come out of the oven but if you let them cool for about 10 minutes they will just be soft and fluffy on the inside.

To store them keep them in an air tight container on the counter top.  They will last even longer if you store them in the refrigerator, but I don't think these cookies will last that long in your kitchen.  I've eaten five already.....

Sunday, January 9, 2011

Cinnamon rolls


Last week I attempted to make an awesome muffin recipe but like a lot of experiments I failed the first time around.  Right now I am in the process of improving the recipe but I'm just not up to trying it just yet.  I still had buttermilk left over in my refrigerator and I really didn't want to have to toss it so I decided to make cinnamon rolls with it instead.  This recipe is perfect if you have some time the evening before and you want nice warm cinnamon rolls fresh for with your morning coffee the next morning.

I got this recipe from Alton Brown who is a celebrity cook on Food Network.  I mostly followed the recipe but added a couple more ingredients.

For the dough:
4 egg yolks
1 whole egg
1/4 cup sugar
6 tbsp melted butter
6 ounces buttermilk
3 1/2 cups flour
2 1/4 tsp yeast or 1 package
1 1/4 tsp salt

Filling:
1 cup dark brown sugar
1 pinch of salt
1 tbsp cinnamon
1 cup chopped walnuts

Glaze:
2 1/4 ounces of cream cheese
3 tbsp milk
1 1/4 cups powdered sugar
1/2 tsp pure vanilla

First....the dough.  Before you make your dough get all of your ingredients out of the refrigerator and let it sit out for a bit.  It is important that your ingredients are at room temperature so that the yeast is awakened and does its job.
I got a little impatient with my butter milk so I put it in a bowl filled with hot water from the tap.  Do not heat up the water on the stove or in the microwave, if the water is too hot and heats up your buttermilk it will curdle.  Same goes for heating up the buttermilk alone in the microwave...not a good idea.  The buttermilk will separate leaving you with oil and some gross curdy looking white stuff on top.  I still had to wait for the buttermilk to get to room temperature using this process but it did speed up the process.

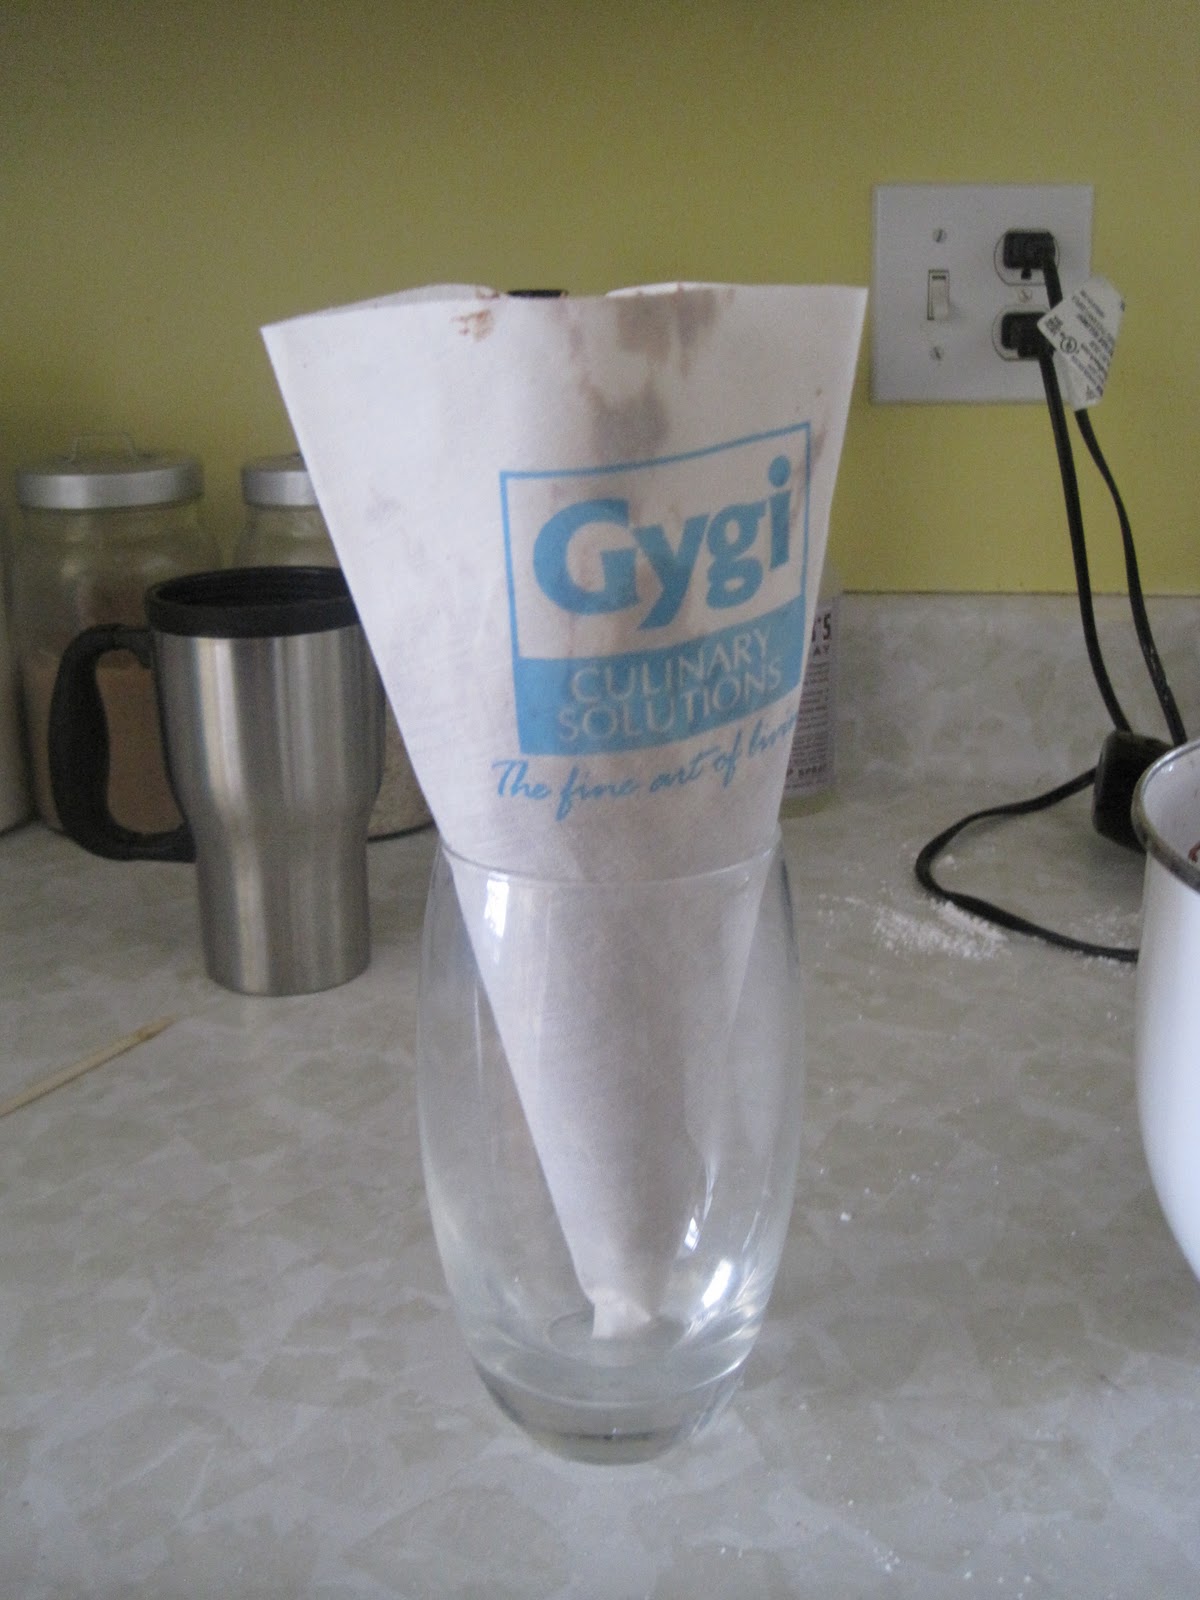
When everything has warmed up a bit put your egg, egg yolk, buttermilk, and sugar in the blender with a whisk attachment and turn on low until all of the ingredients are mixed
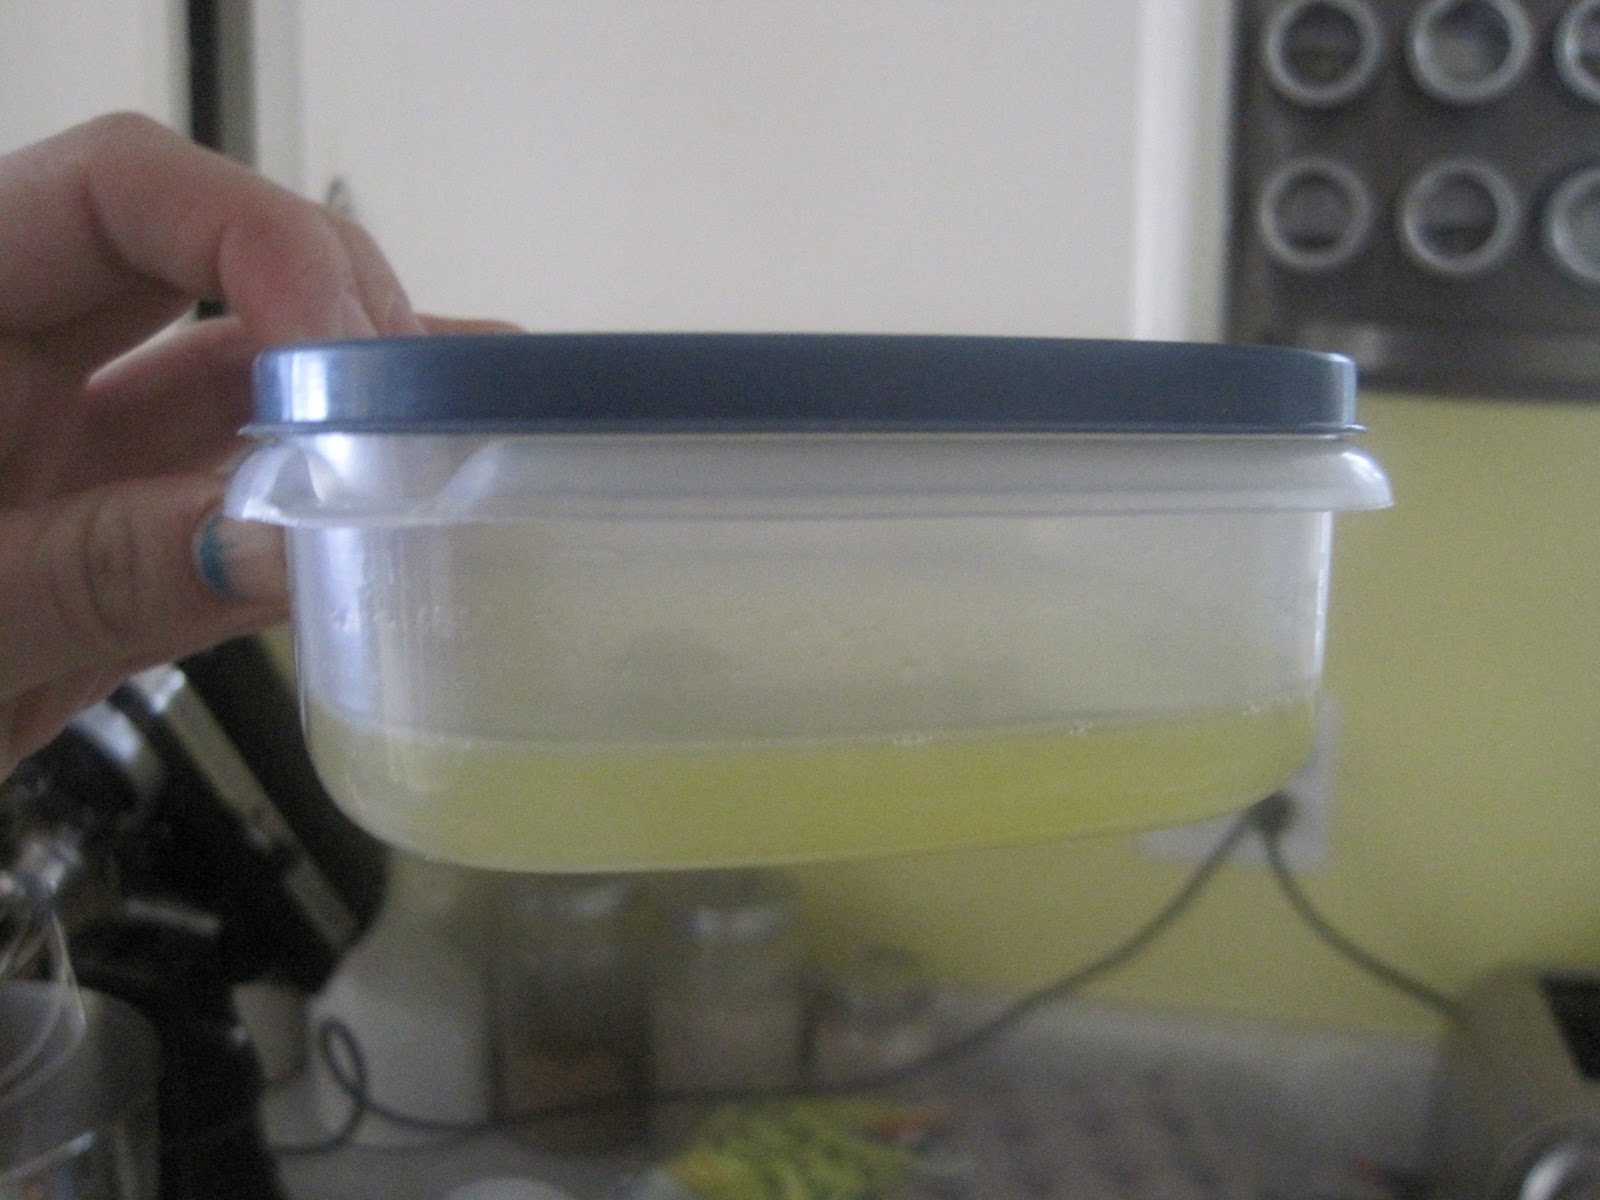
-side note.....instead of throwing away the egg whites you separated your egg yolks from keep it in some Tupperware in your refrigerator, you can make a nice egg white omelet the next morning!


After your liquid ingredients are mixed add 2 cups of the flour with the yeast and salt.  Whisk until the moistened and then switch to a dough hook, and add 1 1/4 cups of flour.  Mix with the dough hook on a low speed for about 5 minutes.  After five minutes If your dough is still sticking to the sides of your bowl add another 1/4 cup of flour and mix for another five minutes or until dough completely leaves the side of the mixer and is soft not sticky when you touch it. 

When the dough is ready it should easily come off the dough hook and not stick at all.  Gently knead your dough on a floured surface for about 1 minute.

Place the dough in a lightly oiled bowl, and turn it over until the dough has a thin layer of oil on it as well.  Cover the bowl and set it in a warm draft free area of your home for about 2 1/2 hours or until it has doubled in size.  In the winter it can be hard to find a place to put your dough.  I put mine in the oven (turned off of course).

After your dough has grown, mix all of the ingredients together for the filling.  Dump your dough out on a lightly floured surface and gently start to shape it into a rectangle.                 
The rectangle should be about 1/2" thick or be the length of a normal cookie sheet.  Pour the brown sugar mixture onto your rectangle and evenly spread it out.  After spreading it out press it lightly into the dough.

Slowly roll the dough up keeping it tight, and ignore the brown sugar mix that is coming out the sides.  After you have rolled your dough up wrap it in parchment paper or plastic wrap and store it, seam side down in your refrigerator overnight.  Pick up the brown sugar mixture that came out of the sides on to your counter and store that in a cup for the next morning.

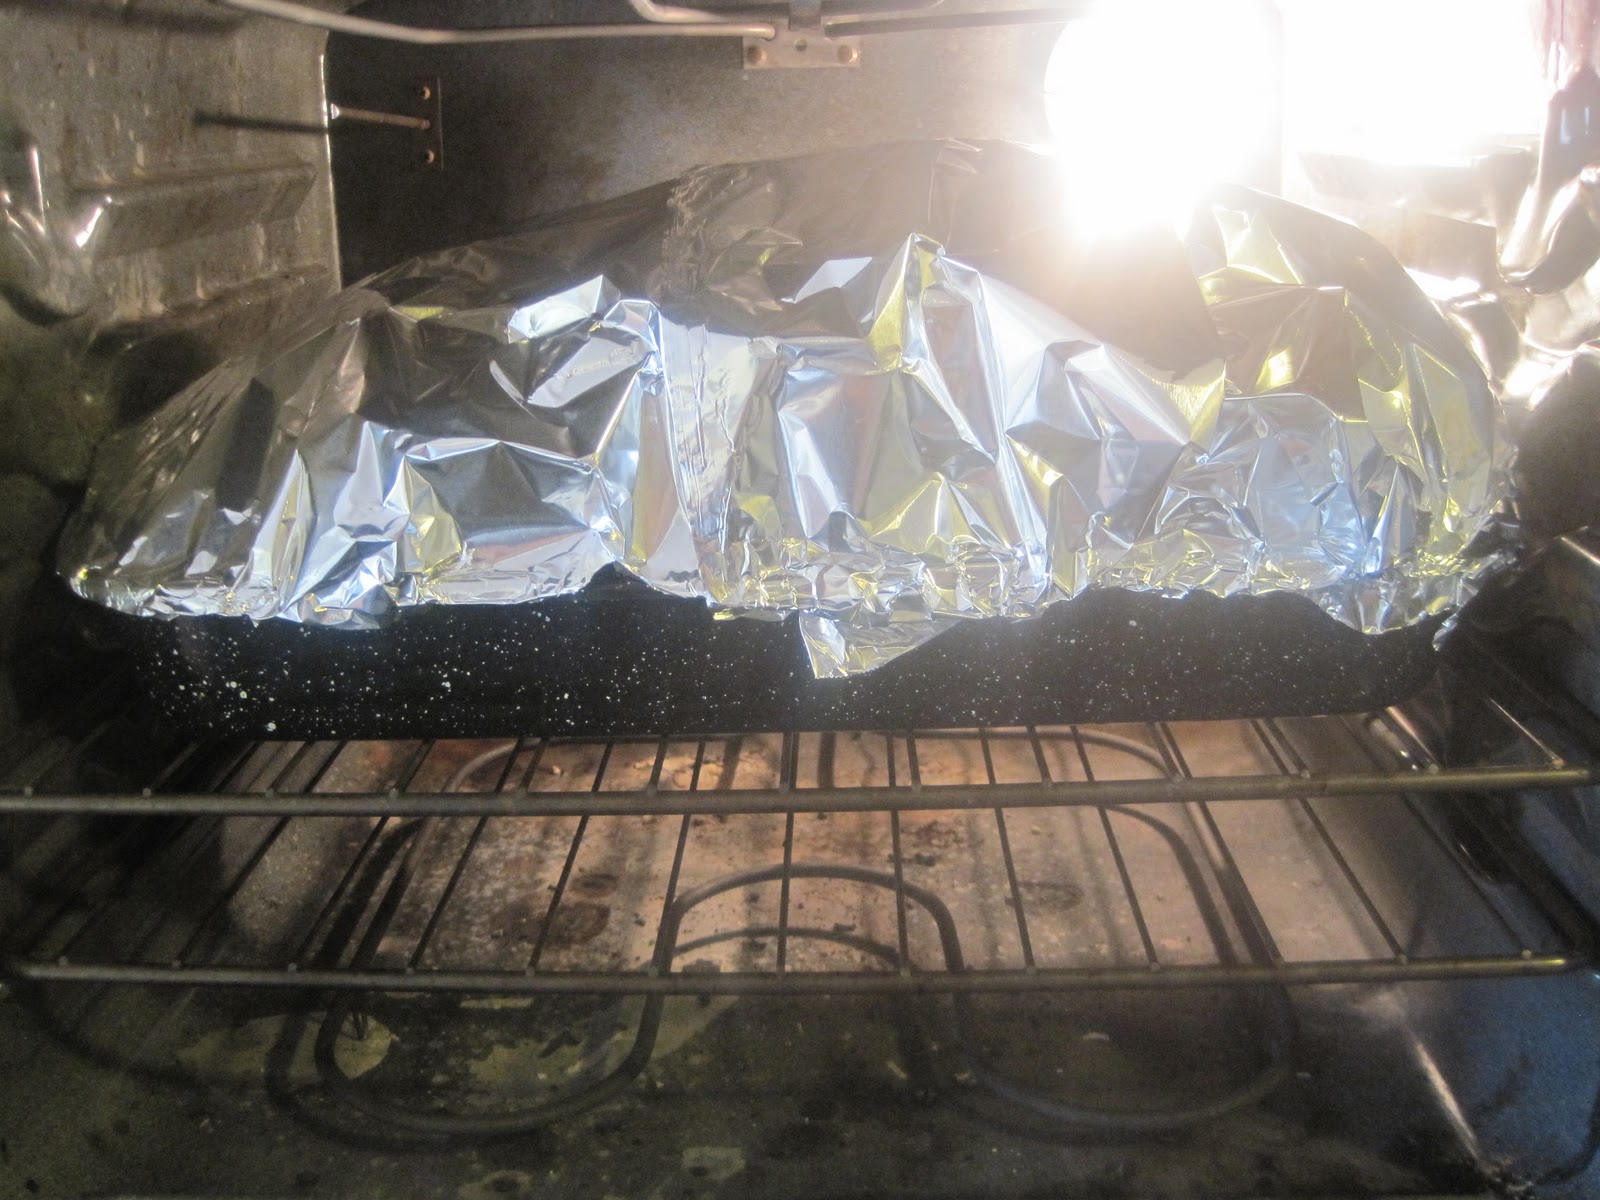
In the morning pull your cinnamon rolls out and trim the very edges off.  Cut the cinnamon rolls into 1 inch slices and arrange them on a sheet pan on parchment paper...or spray the pan with non-stick spray.  Place the cinnamon rolls in the oven leaving the oven off.  Get a big roasting pan and fill that with boiling hot water.  Place the pan in the oven underneath your cinnamon rolls and close the oven.  The hot steam from the water will re-awaken the yeast.  After about 30 minutes pull the water and the cinnamon rolls out of the oven and heat up the oven to 350 degrees F.  Once the oven is warmed up sprinkle the left over brown sugar mixture over the top of the cinnamon rolls and, put the cinnamon rolls onto the middle rack and cook for about 20-25 minutes, or until golden brown on top.

Pull the cinnamon rolls out and let them rest while you make the glaze.  Using a small mixer and bowl, whip your cream cheese and then add the milk and vanilla.  Beat on low until everything is mixed.  Slowly add in your powdered sugar 1/2 cup at a time, each time making sure that the powdered sugar has been incorporated.

Drizzle your glaze over your cinnamon rolls and the dust with some cinnamon.

-Side note-If you want your glaze more see through put less powdered sugar in, if you want it thicker....add more powdered sugar.

Caution...extremely messy, sticky, gooey, and.....addicting, I ate three!

Wednesday, January 5, 2011

Walnut Bread


I got this recipe from one of my Italian cook books by Gabriella Mariotti.    This bread is really easy to make and has a different taste along with texture.  I like eating this bread toasted because the walnuts have even more flavor.  You can just eat it plain but I like it with jam or use it for turkey sandwhiches.  For this bread you will need :

4 cups bread flour
2 tsp salt
2 tsp rapid-rise dried yeast
1 1/4 cups chopped walnuts
4 tbsp chopped fresh parsley
1 2/3 cups luke warm water
4 tbsp olive oil

Put the yeast in the luke warm water (approximately 110 degrees F.)  Put this aside and start mixing together your ingredients.  Sift the flour and the salt into a large bowl.  Add the walnuts and parsley and  mix with a wooden spoon. 


Make a well in the dry ingredients and pour the yeast-water, and oil.  Mix together until the dough comes together.  Place the dough on a lightly foured surgace and knead for about 10 minutes.  Place in a greased bowl, cover, and place in a warm place for about an hour.  The dough should rise to about twice its size.

Punch down the dough after it has risen four about an hour.  knead for another 2 inutes and divide in half.  Shape the two pieces into loafs and place on a greased bakking sheet.  Cover with plastic wrap and let rise for another 30 minutes. 

Preheat the oven to 425 degrees F.

Remove plastic wrap and slightly slash each loaf on the top.  Beat one egg in a small bowl and brush over the top of the bread, this will give it a nice shiny look.  Bake for about 10 minutes and the reduce the oven temperature to 350 degrees F.  Bake for another 25-30 minutes until the loaves have a hollow sound when tapped.

Monday, January 3, 2011

Liz's bread pudding

About two years ago I started making bread pudding for Christmas.  My Grandfather sends me Panettone bread every year and it is perfect in making bread pudding.  Of course it isn't necessary to use Panettone bread.  Panettone can be very difficult to find and can also be very expensive.  I've used day old pastries, old muffins, or just plain french bread.  That is what I love about bread pudding because the possibilities are endless and it is a way to use up your old muffins and pastries that otherwise may taste stale but are born again in a simple dish.  

Liz's bread pudding

1 Panetonne
3 extra large eggs
8 egg yolks
5 cups half and half
2 tsp vanilla extract
2 tsp Frangelico
1/2 cup brown sugar
1 tsp cinnamon
1/4 tsp nutmeg
1/4 tsp cloves
1 can of dolce de leite

A couple notes on two of the ingredients.  Frangelico is a hazelnut liquor produced in Italy.  It is very common and you can find it at any liquor store.  I used Frangelico in this recipe because the panettone I use is a hazelnut panettone.  If you don't like the taste of hazelnut you can substitute it for just about anything like almond, or orange extract.  Dolce de leite is basically boiled sweet and condensed milk.  You can find it in the grocery store next to the condensed and evaporated milk in the baking section.  

Anyways, back to the baking....preheat your oven to 350 degrees Fahrenheit. 

Take your panettone and trim the dark outer layer off.  I usually eat this while I'm waiting for the bread pudding to bake.  Cut the bread into about 1 inch cubes and lay out evenly on a baking sheet.

  Toast the panettone in the oven for about ten minutes or until lightly browned.  This will prevent you from getting a soggy mess when you add the liquid part.


In a large glass bowl whisk together the eggs, egg yolks, half and half, vanilla, Frangelico, sugar, and spices.  I actually used 2 1/2 cup milk and 2 1/2 cup heavy whipped cream instead of half and half because that is essentially what half and half is.  I already had heavy whipped cream in my refrigerator because of other dishes I was making for Christmas dinner so I figured why waste all that extra heavy whipping cream that I wasn't going to use?

Spray or butter your bundt pan to make an easy removal of the bread pudding.  place all of the panettone pieces in the pan,  make sure you have at least an inch of space between the panettone pieces and the top of your bundt pan.  Slowly pour the liquid mixture over the pieces, the pieces don't have to be completely covered, but make sure the top pieces are at least half of the way in the mixture.  I also push the top pieces into the mixture just to make sure they got covered.


Place your bundt pan into another deep square pan and fill that with water so that the water comes up the sides of the bundt pan about half way.  Cover everything with aluminum foil and tent it so that it doesn't touch the top of the bundt pan.  poke a couple of holes at the top for venting.

Bake the bread pudding for about 45 minutes, uncover and then bake for another 40 minutes.  Bake until the custard is set and the top of the bread pudding is browned.  If the top of your bread pudding starts to brown and the custard is not set you can put the foil back over the bread pudding to stop it from burning on the top.  Allow the bread pudding to cool for about an hour.  I like to wait until the bundt pan has cooled so much I can touch the bottem and it is barely warm.  This way it ensures my bread pudding will not fall apart when I remove it.  Using a plastic spatula loosen the bread pudding from the sides of the pan.  Place a large plate over the top of the pan and then flip it quickly so that the pudding lands on the plate.  If you don't feel the pudding release from your pan it the top with your hands until it does, or turn it back over and loosen it again with a spatula.

Take your dolce de leite out of the can and put it in a microwave safe mug.  Heat it up for about two minutes, or until it is liquid enough to drizzle.  Using a spoon, drizzle your bread pudding with the dolce de leite.  When you are ready to serve the bread pudding, place it in the oven or microwave for a bit to warm it up.  Sprinkle with cinnamon, and place the rest of the dolce de leite on the table so people can put more on their piece if they want.

-Panettone means 'large bread' in Italian