Thursday, May 5, 2011

Stash tea lemon biscotti

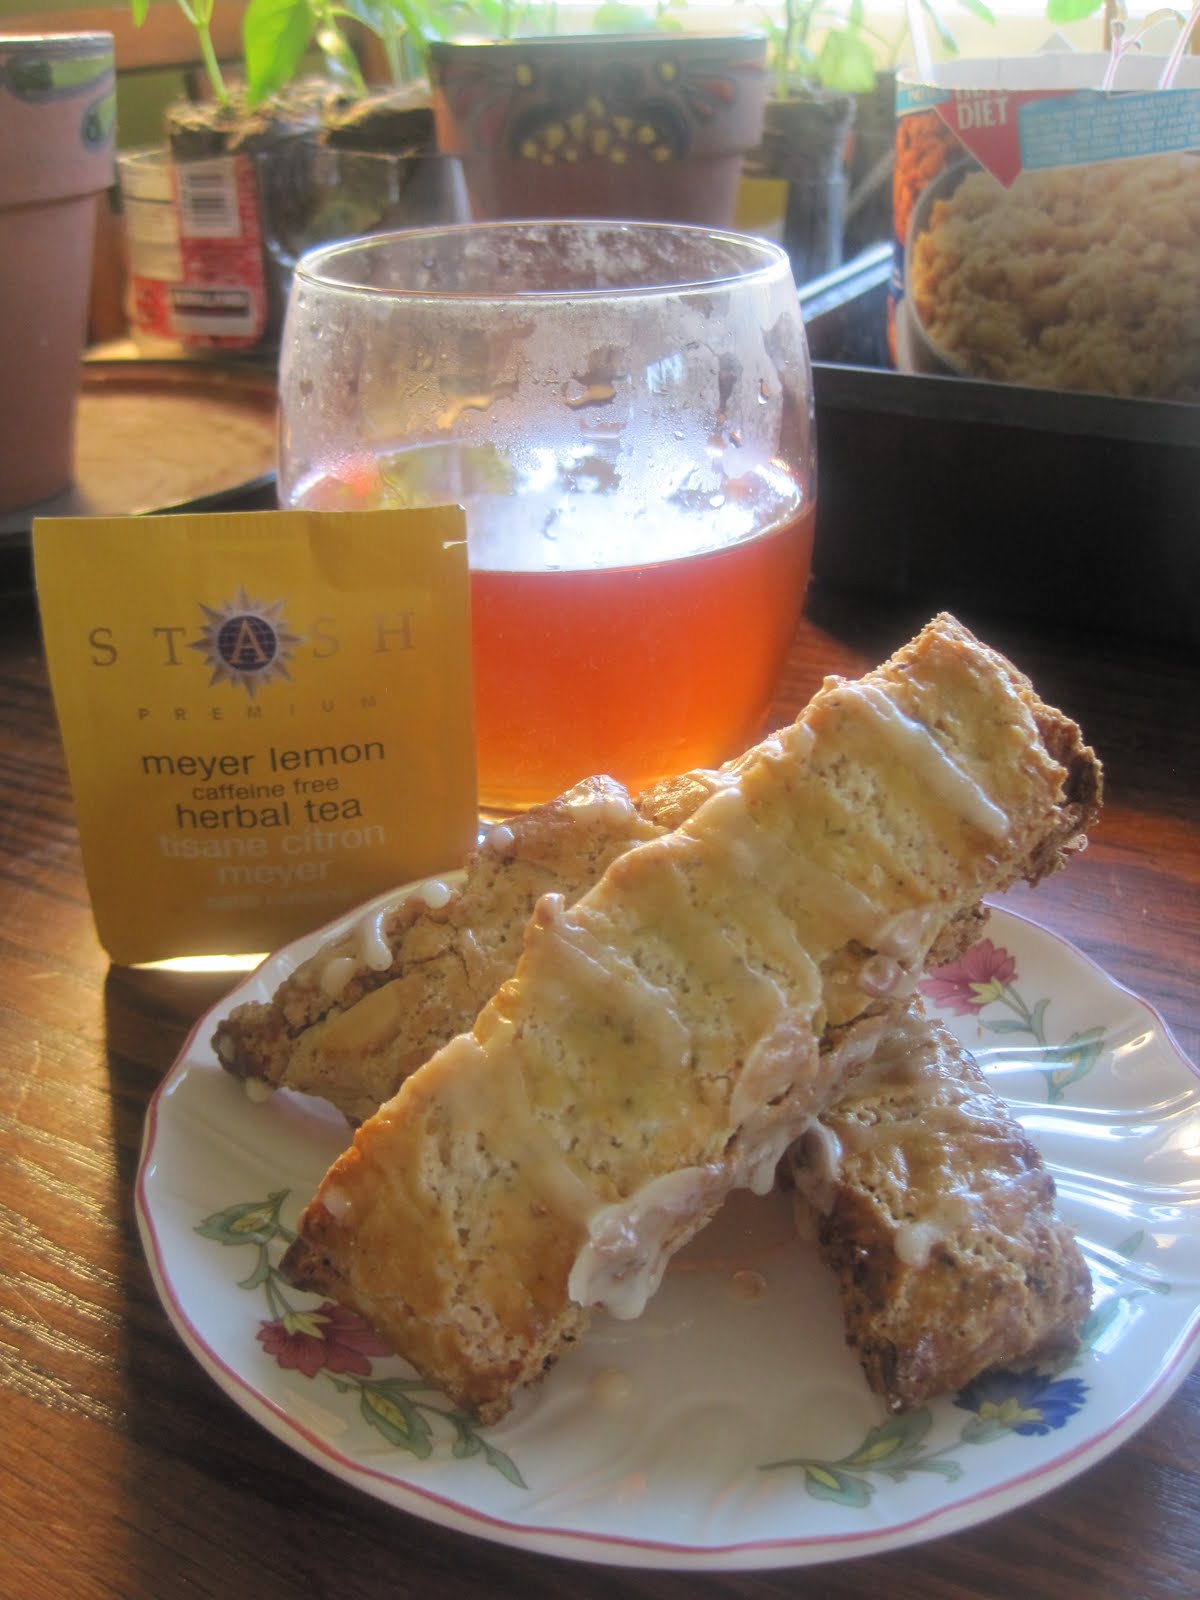
This is a recipe which was inspired by the new Stash tea Meyer Lemon flavor.  Stash tea is putting on a recipe contest and this is my submission so wish me luck!  I decided to make biscotti because I wanted to have a tea time theme.  The smell of lemon in my kitchen made summer feel even closer.
For this recipe you will need:

3 cups of flour
2 cups sugar
1 tsp Baking Powder
pinch of salt
9 Stash tea Meyer Lemon bags
2 eggs plus one egg yolk
1 cup of boiling water
4 tbsp of butter
1 cup powdered sugar
Put a cup of your boiling hot water into a coffee mug or glass liquid measuring cup.  Place three tea bags in the water and allow it to steep for about 3-5 minutes.
When the tea is finished steeping remove the bags and dispose of them.  
In a large bowl add the flour, sugar, baking powder, salt, and 6 bags of tea.  When opening the tea bags make sure you just rip the top part off instead of messing with the staple.  This way you can make sure that pieces of the staple do not fall into your mix.
Mix up the flour mixture and then add 3 tbsp of butter cubed.  For this step you can use a pastry cutter to mix in the butter or an electrical mixer.  Just be careful with the electrical mixer so you don't have a huge flour mess!
Make a well in the middle of your flour and butter mixture and add 6 tbsp of the steeped tea with two eggs.  Mix with a wooden spoon or an electrical mixer.
When the mixture has come together and formed a dough pour in the almonds and knead this into the dough.  For this step you may want to lightly flour your hands because the dough will be a little bit sticky.
Spray a sheet pan with non-stick spray and separate your dough into two equal pieces.  Form them into logs approximately 4x11".  The size isn't that critical so you don't have to be extremely precise.  Brush them with egg yolk to give the tops a shine and place in the oven at 325 degrees F for 20-25 minutes or until golden brown.  Before taking them out you can check if they are done by inserting a tooth pick into the center, if it comes out clean they are done.
Slice the logs up into 8 pieces each and place the cookies flat side down on the sheet.  Put them back in the oven for 20 more minutes or until slightly browned.
When the cookies are done make your glaze.  put the powdered sugar in a bowl and melt 1 tbsp of butter.  Add the butter into the powdered sugar with one tbsp of steeped tea.  Slowly add tea 1 tbsp at a time until the glaze meets the consistency you want.  The more tea you add the more transparent your glaze will be.  I added 3 tbsp to my glaze.  When the cookies have cooled for a bit pour the glaze on them using the whisk or a spoon.  Serve with coffee or Stash Meyer Lemon tea!  You can store them in an air tight container for about a week or two.


Wednesday, May 4, 2011

dinner rolls

This summer I wanted to experiment with bread.  I started with this basic recipe and this summer I will be sprucing them up with some herbs from the garden.  It was also fun to experiment with different shapes.

I got this recipe off of a site called cookingbread.com, the site has a lot of different recipes and tips on baking bread.  For these rolls you will need:
  • 1 1/2 cups milk
  • 2 tablespoons shortening
  • 2 tablespoons butter
  • 1/4 cup liquid honey
  • 4 - 4 1/2 cups bread flour
  • 2 1/4 teaspoon instant yeast
  • 1 teaspoon salt
Put the honey, shortening, and butter in a bowl.  Pour the milk in a sauce pan and cook on high until it is hot but not boiling.  Pour the heated up milk over your honey and butter and stir until the butter is melted and the honey is completely mixed in. 


Add two cups of flower and stir until smooth.  Allow the mixture to cool to about 110 degrees F.  When it has cooled add in the yeast, and salt.  mix until smooth and then allow to rest for about 15 minutes.  Begin to add the rest of the flour slowly while kneading the dough.  You may or may not need all of the flour.  Stop adding flour when the dough has stopped sticking to the bowl or counter top. 

When the dough has stopped sticking continue to knead for about ten minutes.  Form into an oval ball and place it in a lightly greased bowl.  Cover with plastic wrap and allow to rise for about one hour, or until it has doubled in size.

After the dough has risen separate into twelve equal pieces.  You can either leave them in a ball or shape them into what ever shape you like.  I rolled mine out into snakes and then carefully tied them into double knots, braids, or scroll shapes. 

Place the rolls on a sprayed cookie sheet and cover with plastic.  Allow the rolls to rise again for about another hour or until they have doubled in size.  Before you are ready to cook them, brush a coat of egg yolk over them to give the finished product a nice browned shine.  Bake at 350 degrees F for about 10-15 minutes.

Serve hot with jam or honey.

Friday, April 22, 2011

Chocolate Mousse pie

This weekend I asked my husband what he wanted to eat.  After some careful thought he stated Chocolate Mousse.  He then decided, what better way to enjoy Chocolate than in pie form.  I agreed, two things I love, chocolate, and pie.  When making this pie the quality of your ingredients really matter.  The chocolate I used was a semi sweet Ghirardelli chocolate callets.  Using a good quality chocolate rather than nestle or some other cheap brand really makes a difference.  Splurge a bit and buy your favorite chocolate because this is really the best way to enjoy it anyways.  The pie crust is just a basic recipe I use for all of my sweet pies:

1 1/2 cups flour
1/2 tsp salt
1 tbsp sugar
6 tbsp cold unsalted butter
2 tbsp vegetable shortening
about 5 tbsp of ice water

For the pie filling:
2 1/2 cups Ghirardelli semi sweet chocolate callets
1 pint of heavy whipped cream
2 tsp powdered sugar
1 tsp vanilla extract.
Sift the flour, salt, and sugar into a medium mixing bowl.  Cut your butter into cubes and add it to your flour mixture with the shortening.  To mix the fats with your flour use a pastry cutter.  You can also do this in a food processor.  I still have not invested in a food processor so everything is still by hand in my kitchen.  Mix until the mixture has a cornmeal texture.  Add two tbsp of water and mix.  Keep on adding water one tbsp at a time until the dough comes together.  Make sure you don't put to much water, just enough to bring everything together.
After you are able to form a ball with your dough, press it into a disc and wrap in plastic wrap.  Let the dough chill for at least an hour.
After your dough has chilled take it out and let it warm up a bit so that it is workable.  Roll it out until it is big enough for your pie pan.  I like to place my pie dish on the dough just to make sure I have rolled it out enough.
The trick to getting your pie crust into your pie pan is to gently roll it up around your rolling pin.  This way you can carry the pie crust over to your pan and gently un-roll it over the pan so the crust gently covers your pan.
Pinch the sides of your crust in what ever design fits you and poke a bunch of holes into the bottom and sides of the crust.  The holes allow steam to escape as the pie shell bakes.  After this I chilled my pie crust for about 30 minutes. 
So your pie keeps its form while baking use beans, or  pie weights.  These beans are the ones I use over and over again for this specific purpose.  They sit in my pantry marked pastry beans.  This is more effective and cheaper than pie weights.  Bake your pie in the middle rack at 350 degrees F for about 15 minutes.  Remove the beans and place back in the oven for about another 5 minutes, or until the bottom of the shell is hard and slightly brown.
As soon as you pull your pie out of the oven place about 1/2 cup of chocolate callets on the bottom of the crust and let them sit until they look glossy.
Using a pastry brush, coat your pie crust with the melted callets.  Allow this to come to room temperature.
While the crust is cooling off, make your filling.  In a double broiler place 2 cups of the callets with 3/4 cups heavy cream.  Mix until the chocolate is completely melted and the cream is mixed in.  Remove from heat and set aside.  Allow the chocolate mixture to come to room temperature.
Beat remaining cream, vanilla, and sugar in a chilled mixing bowl until cream forms stiff peaks.  Fold the whipped cream into your cooled off chocolate.  Do not over mix because you want the chocolate mixture to retain its fluffiness.  Pour the mixture into your pie shell and smooth the top with your spatula.  Refrigerate your pie until firm....about 2-3 hours.
You can garnish your pie with chocolate pieces, melted chocolate, and whipped cream.


Wednesday, April 13, 2011

Whole Wheat cinnamon swirl raisin bread

From the outside this bread looks like ordinary boring wheat bread.  But there is a surprise inside....raisins and cinnamon!  This bread has a crunchy outside but is soft on the inside.  The cinnamon and raisins are so flavorful I just eat this bread toasted and plain, no butter or jam required.  Of course, like all yeast breads you have to have patience, but the wait is worth it and you will have enough bread to supply you for two weeks......unless you get really hungry and just can't help yourself and before you know it you sat down with a loaf and now it is all gone.  When I was baking this bread it made my whole house smell like cinnamon.  This bread is also very good for you:

115 Calories,  1.8 g fat, 23 g carbs, and 3.2 g of protein.

You will need:
2 cups of bread flour
2 cups whole-wheat flour
1/4 cup nonfat dry milk
1 large egg
2 tbsp canola oil
3 tbsp honey
2 tsp salt
1 1/2 tsp instant dry yeast
cooking spray
2/3 cups raisins
1 tbsp cinnamon
1/3 cup packed dark brown sugar

To make the dough, warm up 1 1/4 cups water (about 120-125 degrees F).  Add the water to a large mixing bowl with the bread flour, whole wheat flour, nonfat dry milk, egg, canola oil, honey, salt, and yeast.  Fit your stand mixer with a dough hook and mix for about 3 minutes on the lowest setting.  Increase to the next highest speed and mix for about 5 minutes.  When the dough has come together, shape it into a ball and place in a bowl that has been covered lightly with canola oil.  Roll your ball around so that it is covered with oil as well then cover it and let it rise for about 1 hour and 30 minutes.
When your dough is about 30 minutes away from being done, soak your raisins.  Place them in a bowl and pour boiling hot water over the top of them.  Let them soak for about 30 minutes.  If you skip this step, the raisins will take the moisture out of your bread.


When the dough is finished rising, cut it into two pieces.  Roll each one out to about an 8 inch square.  Mine were more like rectangles, I tried really hard to get a perfect square and it just wasn't happening.  Next time I think I will roll them a bit thinner so that there is even more of a swirl.  Maybe an 8 inch by 15 inch would be better.  Sprinkle cinnamon so that it covers the bread dough and then add some brown sugar.  You can add as little or as much as you like of the cinnamon and brown sugar.  To be healthier I didn't use all of my brown sugar.  Evenly distribute the raisins onto both breads.

Tightly roll up your bread.  I pushed down onto every roll to make sure the raisins were really snug in there dough blanket.  If a raisin escapes make sure you put it right back in....no raisin left behind!  When your done rolling press down on both ends with the heal of your hand and tuck it.

Place each loaf, seam side down into a lightly greased 9X5 inch pan.  Let this rise for another hour and 30 minutes.

Preheat your oven to 375 degrees F.  Brush the loaves with canola oil and bake until golden brown....about 25-30 minutes.  Remove from the pan and transfer to a rack.


Tuesday, April 12, 2011

5 bean chili

This chili is perfect for those rainy spring days.  The recipe has a lot of ingredients but it really is very easy, basically everything gets thrown into a big pot and you let it cook together for about an hour and 45 minutes.  I like making this recipe when my friends come over because it makes a lot of chili and takes little effort.  If you are vegetarian you can omit the meat and use vegetable stock.  For a leaner recipe substitute the ground beef for ground turkey.  I first made this recipe for friends at a Halloween party, I made the chili and friends provided bread, garnishes, and drinks.  I believe a chili dinner is the winter equivalent to a summer BBQ.

Ingredients
1 lb ground beef
1 cup diced yellow onion
1 diced green bell pepper
2 jalapenos diced with seeds removed (for a spicier chili leave the seeds in)
3 cloves of garlic, minced
1 1/2 tbsp chili powder (Mexican style)
2 tsp salt
1 1/2 tsp cayenne pepper
1/8 tsp ground coriander
1 tsp ground black pepper
1/8 tsp ground cinnamon
2 bay leaves
1 (28 oz) can whole peeled tomatoes
3 cups of water
2 cubes of beef boullion
1 (15 oz) can of drained great northern beans
1 (15 oz) can of drained kidney beans
1 (15 oz) can of drained black beans
1 (15 oz) can of drained navy beans
for garnish:
cilantro, chopped green onions, and white cheddar

First prep everything...chop up the onion, bell pepper, jalapenos, and garlic.  and find all of your spices so you can easily measure everything out.  After all the prep is done put your ground beef in a large pot and cook until well browned.
When the beef is cooked all the way through add the onion, bell pepper, jalapenos, garlic, chili powder, salt, cumin, black pepper, cayenne pepper, coriander, and cinnamon.  Cook until the veggies are soft....about 5 minutes. 

While your veggies are cooking down, put three cups of water in a microwavable container and add two cubes of beef bouillon.  Place in the microwave for about three minutes.  Remove the beef mixture and stir it up so that the cubes have completely dissolved.  I only had a 2 cup container so I just added the extra cup into the chili as I was adding the beef broth mixture.
When the veggies have cooked pour your tomatoes into the pot....making sure you have cleaned your hands, grab each whole tomato and squeeze it...I love this step.  Be careful though cause the tomatoes can squeeze juice in all directions...I got a little in my eye.  Add the beef broth, and 2 bay leaves.  Bring the mixture to a simmer.  Partially cover and cook for about 40 minutes stirring occasionally.  Keep the stove on a low temperature so the chili doesn't come to a rolling boil.
After 40 minutes of simmering it is time for the beans.  Make sure you drain each can before adding to the chili!  Stir up your chili so all of the beans are combined to it and let this cook for another 20-30 minutes.  After all of the flavors have stewed together for about an hour and a half, taste it and add black pepper and salt if needed.  To serve I placed three containers next to the pot which had white cheddar, cilantro, and chopped up green onions.  This way your guests can scoop up the chili and add their own garnish according to taste.  Serve with rolls or bread sticks.


Sunday, April 10, 2011

Mini lemon meringue tart

I had to make a treat that reminded me of summer because the last couple of days have been filled with snow.  Usually in April Utah has a couple of snow storms, but this storm was heavy and went on for three days.  The storm was more like a winter xmas storm rather than a small spring storm.  So far in my garden I have planted garlic, onion, and potato.  All of these will be fine, I hope.  The snow was kind of heavy so my poor Garlic shoots had to deal with the snow pushing them down.  Right now it is about 38 degrees F, to cold to put my seedlings out and harden them off.

Eating this tart made me feel better and for a moment it felt like summer filled with sprinklers, cold lemonade, and fresh cut grass........

note:  I used a set of six 4 inch round tart pans, if you just want to make one large tart, use a 10" tart pan.

Sweet Tart Pastry
1 1/4 cups unbleached all purpose flour
1/2 cup confectioners' sugar
31/2 ounces cold unsalted butter
1 egg yolk
2-3 tsp iced water

Filling:
6 large eggs
1 1/3 cups sugar
3/4 cup freshly squeezed lemon juice (about 3-4 lemons)
finely grated zest of 3 lemons
3/4 cup heavy cream

Italian Meringue
1/2 cup water
1/3 cup sugar
pinch of salt
1/4 tsp cream of tartar
2/3 cup egg whites (about 4 eggs)

First make the pastry.  Add your flour, sugar, and butter and mix them with a pastry cutter, or food processor.  Mix until the butter is thoroughly mixed and it resembles corn meal.  Then add the egg yolk and 2 tsp of ice water.  Mix until the dough comes together.  If it isn't coming together add a little more water 1 tsp at a time.  Make sure you add just enough water to allow the dough to come together.

Shape into a ball and cover with plastic wrap.  Allow the dough to chill in the fridge for about 30 minutes.  After it has chilled take the dough out of the fridge and cut it into six even pieces.


Roll out the dough until it is slightly larger then your tart pan.......


Using your rolling pin, gently roll the dough onto it...........


.... drape it over your tart pan.............


......and then press your dough into the pan.  At the top give it a small crust so the meringue has something to grab on to.  Place them on your baking sheet and cover with plastic.  Let them sit in the refrigerator for about 30 minutes.


Pre-heat the oven to 350 degrees F.  Using parchment paper and beans (or pie weights) bake the tarts for about 15 minutes, or until they are slightly brown.  I have some beans that I use every time I make tarts or pie.  You can use them over and over again, just don't try to eat them later because they will not taste good.  When the tart shells are done baking turn the oven down to 300 degrees and let the tarts sit out and slightly cool while you make the custard.


For the custard, get a meduim mixing bowl and a whisk.  It is better to use a whisk because you don't want your custard to get foamy from being over beaten, you just want to mix it until it is smooth and everything is mixed evenly together.  First add the eggs and sugar.  Then add the lemon juice, lemon zest, and heavy cream.  A trick to get more juice out of your lemon is to roll the lemon on your counter top with your palm gently pressing down on it.  I used the three lemons I had used for their peel.  Three lemons almost made enough juice so I topped it off with store bought lemon juice.
Mix all together and pour it into a pitcher so it is easy to pour into the tarts.


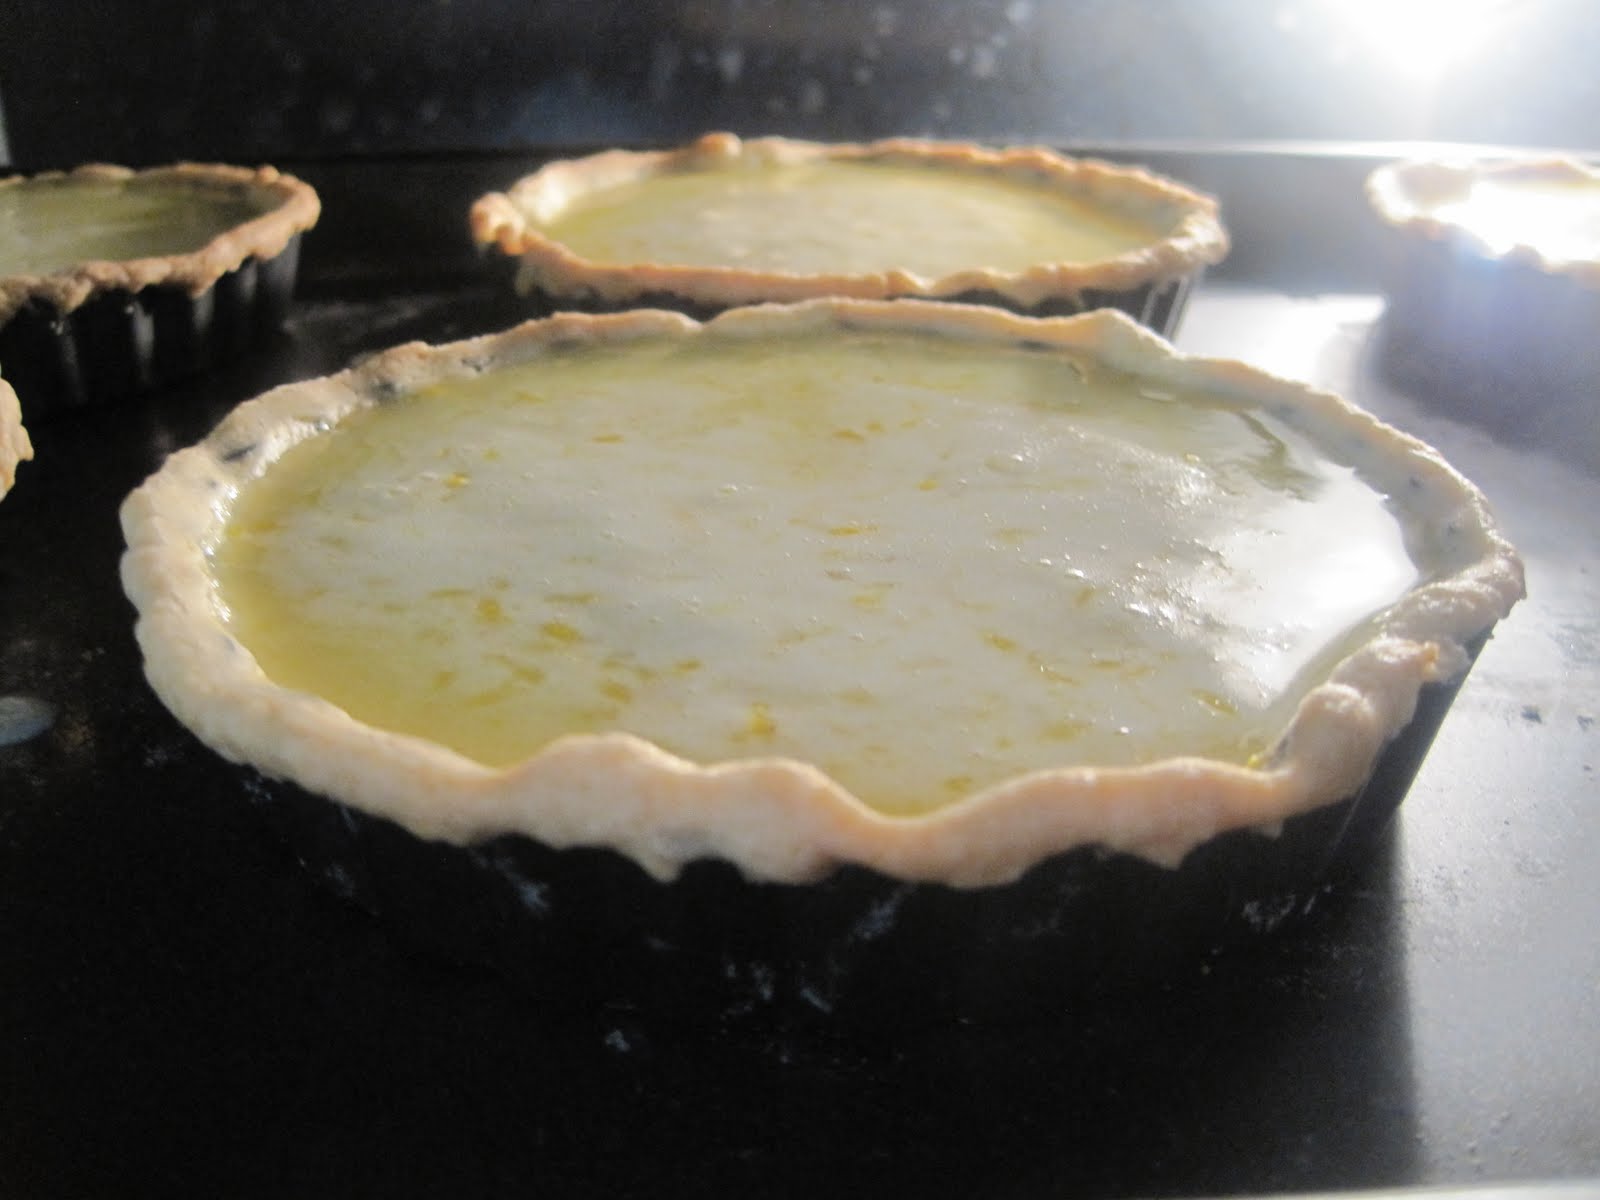
Pour the custard into the shells and bake for about 35-40 minutes.  I set my timer to 25 minutes because I wanted to start my Italian meringue about 10 minutes before I pull the tarts out of the oven.  This is because the custard needs to be hot when your meringue is placed on the pie.  This makes the meringue less prone to shrinking or weeping.  It doesn't really effect the overall taste, just the presentation.

For the meringue beat your egg whites until they are foamy and then add the salt, and cream of tartar.

Beat this mixture on high until it forms soft peaks.  While this is mixing, put the sugar and water in a sauce pan and cook until the sugar is dissolved and the temperature is about 235 degrees F.  When the sugar is done, put your mixer on low and slowly pour in the sugar, try to avoid the wire whisk.  After the sugar has been poured in, mix on medium high until the meringue has cooled down.

When your tarts are down put the meringue on top, making sure it connects with the crust.  I piped mine on but that isn't necessary, just use a small spatula, it all depends on what you want the end product to look like.

To brown the meringue put your oven on a low broil and place the pies in the lower middle rack.  Watch them carefully because they will brown fast and you don't want them to burn!