Tuesday, March 1, 2011

Chocolate checkered cake

This was my first attempt at putting a cake together and decorating it.  I'm not going to share the recipe today because I am still fixing it, But I will show how the whole thing came together.  I had fun putting it together and I learned a lot along the way.  I used a chocolate and a vanilla Italian sponge cake, Chocolate glaze, Reeses pieces, and Italian butter cream frosting with peanut butter.
First step was to cut my sponge cakes into rings.  First, I cut each cake in half horizontally, so I had four cakes total.  I used a tea set to measure out the different sizes of circles.  The larger outer circle was the plate, the middle circle was the saucer for the tea cup, and the circle shown here was the tea cup.  I also cut a smaller circle withing this one but I just free handed it.  In total I had four rings for each cake, and a center piece.
To construct the cake I used Butter cream for the glue.  Starting with the vanilla outer ring, I placed a chocolate ring inside.  I kept this up until I had placed all of the rings making a whole cake, ending with the vanilla center.  within each ring I put a layer of butter cream so the rings would stick together. Before starting my second layer I made sure everything was level, and I covered the whole layer with butter cream.  The second layer starts with a chocolate outer ring, and ends with a chocolate center.
This is a picture of the finished layers.  There are four layers total.  From the side view you can see the alternating exterior rings.  There is butter cream in between each ring and each layer.  Next cover the whole cake with a thing layer of buttercream and place it in the Refrigerator for about two hours.
When the crumb layer has chilled add a full layer of butter cream and place it in the freezer for two hours.  Placing it in the freezer will make the butter cream hard and the next step easier.  A note on the butter cream,  I wasn't a fan of the Italian butter cream, it kept on separating and I had to keep on beating it.  The butter and the egg whites did not like each other.  I'm sure this problem had to do with my skill level.  After doing some research on line I realized that this happens to a lot of people.  I may try it again someday and practice a bit, but I think for this cake I will use the traditional butter cream of powdered sugar, and butter.  For those who don't know Italian butter cream is made with butter and an Italian Meringue.  An Italian meringue is made with egg whites and a hot sugar syrup.  The meringue is extremely stiff and shiny when done.  Then you slowly add in softened butter.  I did make two batches and the second one came out better, but I still wasn't a fan.  
Next pour on the glaze.  A chocolate glaze is just heavy cream with melted chocolate.  To glaze the cake I placed it on a cooling rack over a pot, to catch the excess chocolate.  After pouring the chocolate I realized that the chocolate layer was really thin.  I placed the cake in the refrigerator for about ten minutes and then placed all of the chocolate that had poured into the pan back into my bowl.  After a second layer of chocolate glaze I got the desired thickness.
I decorated the sides with crushed Reeses pieces and the top I piped on "happy bday".  Piping was a lot harder then I thought. I started out trying the cursive and ended with bold capitol letters.  The butter cream was not working very well either.  To thicken it I added some powdered sugar.  This helped a lot, otherwise I wasn't going to be able to pipe anything with the soft Italian butter cream.
The design worked out great, but I am still working on the recipe.  Like I said, next time I probably will use a more traditional butter cream, also instead of the cocoa powder that I used for the chocolate cake I think I will use real milk chocolate.  I also learned that I need to practice my piping!


Wednesday, February 16, 2011

home made protein bars

These protein bars kind of taste like no bake cookies, only not as sweet.  They are super easy to make and they don't have all the weird ingredients that store bought protein bars have in them.
Chocolate Protein bars
10 tbsp organic peanut butter
5 egg whites (make sure they are pasteurized)
5 scoops of chocolate protein powder
2 cups of rolled oats
1/2 cup of soy milk
1 tbsp raw honey
1 tbsp cinnamon

First mix the peanut butter and egg whites.  At first they will not mix together very well, place them in the microwave for 30 seconds and then mix again.  Repeat this step 4 or 5 times until the egg whites and peanut butter are completely mixed and creamy.  This may cook the egg whites enough but I'm not at all sure so to be safe I would use pasteurized eggs.


Gradually add the protein mix one scoop at a time.  When this is fully mixed add the cinnamon, honey, and soy.  Now at this step I noticed that I had a huge sticky glob in a puddle of soy milk which I couldn't mix.  To fix this I set up a double boiler, as my sticky chocolate glob heated up it was easier to mix in the soy milk.  To avoid this step I would add the soy milk first right after the microwave step and then add the protein mix at the very end.


Set your chocolate mix aside and place two cups of rolled oats in a shallow frying pan.  Lightly toast the oats to bring out some flavor and then add them into your chocolate mix.


Lightly spray a 13x9 inch pan with non-stick spray and pour your mixture in.  Make sure it is level and then place it in the refrigerator for about 30 minutes. 

After it has cooled down, cut it into ten bars by cutting five pieces one way and then cutting that in half the other way.

When I removed the bars they were still very sticky so I placed them in the freezer for about 30 minutes.  This made it easier and less messy to wrap the bars in foil.  Store in the refrigerator.  These bars are about 230 calories,  9 grams of fat, 19.5 grams of protein, 16 grams of carbs.

I eat every three hours, five meals a day.  This protein bar is one of my meals.

I know a lot of my posts have been unhealthy so I thought I would throw something in that is fun to bake and is also good for you.  I will try to post some more of my healthy meals on here but I will also continue to post the unhealthy ones too cause after working so hard during the week I think we all deserve a little indulgence.

Monday, February 14, 2011

Strawberry lemon sponge cake

This cake is pretty easy to make and has a nice fresh taste to it.  Tools you need for this are: a spring form pan, parchment paper, A whisk, a medium star pastry tip, pastry bag, electrical mixer.  You can make the desert without the pastry tip and bag.  I just used it to pipe on the whipped cream which covers the top of the cake.  An alternative is just to spread the whipped cream over the top with a large flat knife.
Ingredients

Italian Sponge cake
1 cup unbleached flour
1/4 tsp salt
6 large eggs, separpated
1 1/4 cups sugar
1/2 tbsp finely grated lemon zest

Lemon pastry cream
5 large egg yolks
3/4 cup sugar
4 tbsp cornstarch
2 cups milk
juice from one lemon

Whipped cream
1 cup of heavy cream
2 tbsp confectioners sugar
1/2 tsp vanilla

Garnish
Lemon juice
box of blueberries
box of strawberries
1/2 cup of melted chocolate

First make the sponge cake.  Preheat the oven to 250 degrees F.  Butter a 10 inch spring form pan and line it with parchment paper.  Sift the flour and salt in a medium bowl and set aside.  Beat the egg yolks, sugar, and lemon zest in a large bowl with an electric mixer at high speed.


The egg yolks will become extremely pale and the mixture will become thick and creamy.  Using a spatula fold the dry ingredients into the egg yolk mixture.  Next prepare the egg whites.


If you are using the same mixer you used to make the egg yolks make sure that it has been thoroughly cleaned and then dried.  If a little bit of water is added to your egg whites it will ruin them.  Beat the egg whites on high until it forms stiff peaks like the picture to the right.  Using a spatula carefully spoon the egg whites into the egg yolk mixture.  Carefully fold in the beaten egg whites.  You want to keep all of the fluffiness of the egg whites so don't over mix and don't use a spoon or an electrical mixer.  When you are done folding the egg whites into the mixture, quickly pour it into you spring for pan and place it in the oven for 35-40 minutes.  When the cake is done it will be springy to the touch and it will begin shrinking from the pan sides.


Cool the cake in the pan for about five minutes.  Loosen around the pan sides and invert the cake onto a rack.  Remove the pan and then carefully peel off the paper.  Turn the cake back, right side up and allow it to cool completely.  After it has cooled completely place it in the refrigerator.  In the next step the cake will have to be sliced in half and this is done easier when the cake is cold.


For the pastry cream.  Beat the egg yolks and sugar until pale and creamy.  Beat in the cornstarch and salt.  In a deep saucepan bring the milk to a boil.  Careful while doing this otherwise you will scald the milk.  Put the stove on medium so the milk slowly heats up and stir it occasionally.  When the milk has come to a boil, pour it slowly into your egg yolk mixture and stir it in.


Return everything to the pan and turn the heat to low.  For about five minutes or until the mixture starts thickening stir with a wooden spoon.  Then switch to a whisk so you can easily break up any lumps that form.  Bring to a boil and boil it for about one minute.  The mixture will become noticeably thick, remember to stir constantly otherwise it your cream will be lumpy. 


When done remove from heat and stir in the lemon juice.  Pour the done cream in a bowl and cover it with plastic wrap.  Make sure the plastic wrap is right on the top of the cream, this will prevent a skin from forming.  Let the cream sit out on the counter until it has cooled, and then place it in the refrigerator for about 30 minutes.  Allowing it to cool makes it thicker and easier to spread onto your cake.


While your cream and cake are in the refrigerator prepare your whip cream by placing all of the ingredients in an electrical mixer and mixing it on medium until it becomes thick.  Careful not to over mix, other wise you will get butter.  When the whipped cream is done, if you are using a pastry bag, spoon it into the pastry bag and place it in the refrigerator while you prepare the next step.

For a garnish I washed the blueberries and splashed just a small amount of lemon juice with about a tbsp of sugar.  I prefer raw sugar but if you don't have any regular sugar works fine.  Carefully stir the blueberries making sure they get completely covered.  For the strawberries, save about 12 and slice the rest.  For the 12 make sure you wash and then completely dry them.  Get about 1/2 a cup of your favorite chocolate and melt it.  It is best to use a double boiler rather then the microwave because you may over cook and burn your chocolate in the microwave.  When the chocolate is melted, hold a strawberry by the green and dip it in the chocolate,  When done place them in the refrigerator.

Now it is time to get your cake out of the refrigerator.  Slice it in half, horizontally.  Place the bottom on a plate and spoon the pastry cream onto the middle.  Using a spatula or a flat knife evenly spread the cream over the whole bottom half of the cake.  Cover it with the sliced strawberries, and then place the top half of the cake on top.

Get your whipped cream and decorate however you like.  Have fun with it!  When your done place the chocolate covered strawberries on top and garnish with the blueberries.

Happy Valentines day!

Monday, February 7, 2011

cookie dough truffles


I got this idea from Paula Deen.  Her recipes are always so good and they are easy to make.

You will need:

3/4 cup brown sugar
1/2 cup butter
2 cups flour
1 can of sweet and condensed milk
1/2 cup of mini chocolate chips
1 package of Ghiradelli semi sweet chocolate (60% cocao)
a hand full of white melting chocolate
1/8 tsp of maple syrup extract

Cream together the brown sugar and butter.  Add the sweet and condensed milk and flour.  Mix on medium for a couple of minutes until creamy.  Remove the bowl from your mixer and add the chips.  Fold in the chips using a spatula.  Using a cookie scoop, scoop out little balls.  Flour your hands and roll the scoops into smooth balls.


Place all of the balls in a container, cover it, and place it in the refrigerator.  Leave them in for at least two hours.
When the balls have firmed up in the refrigerator start melting the chocolate.
To make a double boiler, get a medium sauce pan and fill with about 2 cups of water.  Allow the water to boil, and then place a metal bowl on top.


Fill the bowl with your chocolate and stir it with a whisk or spatula until completely melted.  Remove from the stove and dip the chocolate chip cookie dough in the chocolate using a fork or your fingers.  If using your fingers, be careful because the chocolate can be very hot.

Place the chocolate truffles on a cookie sheet with parchment paper.  When you are done with the truffles place them in the refrigerator for about half an hour.

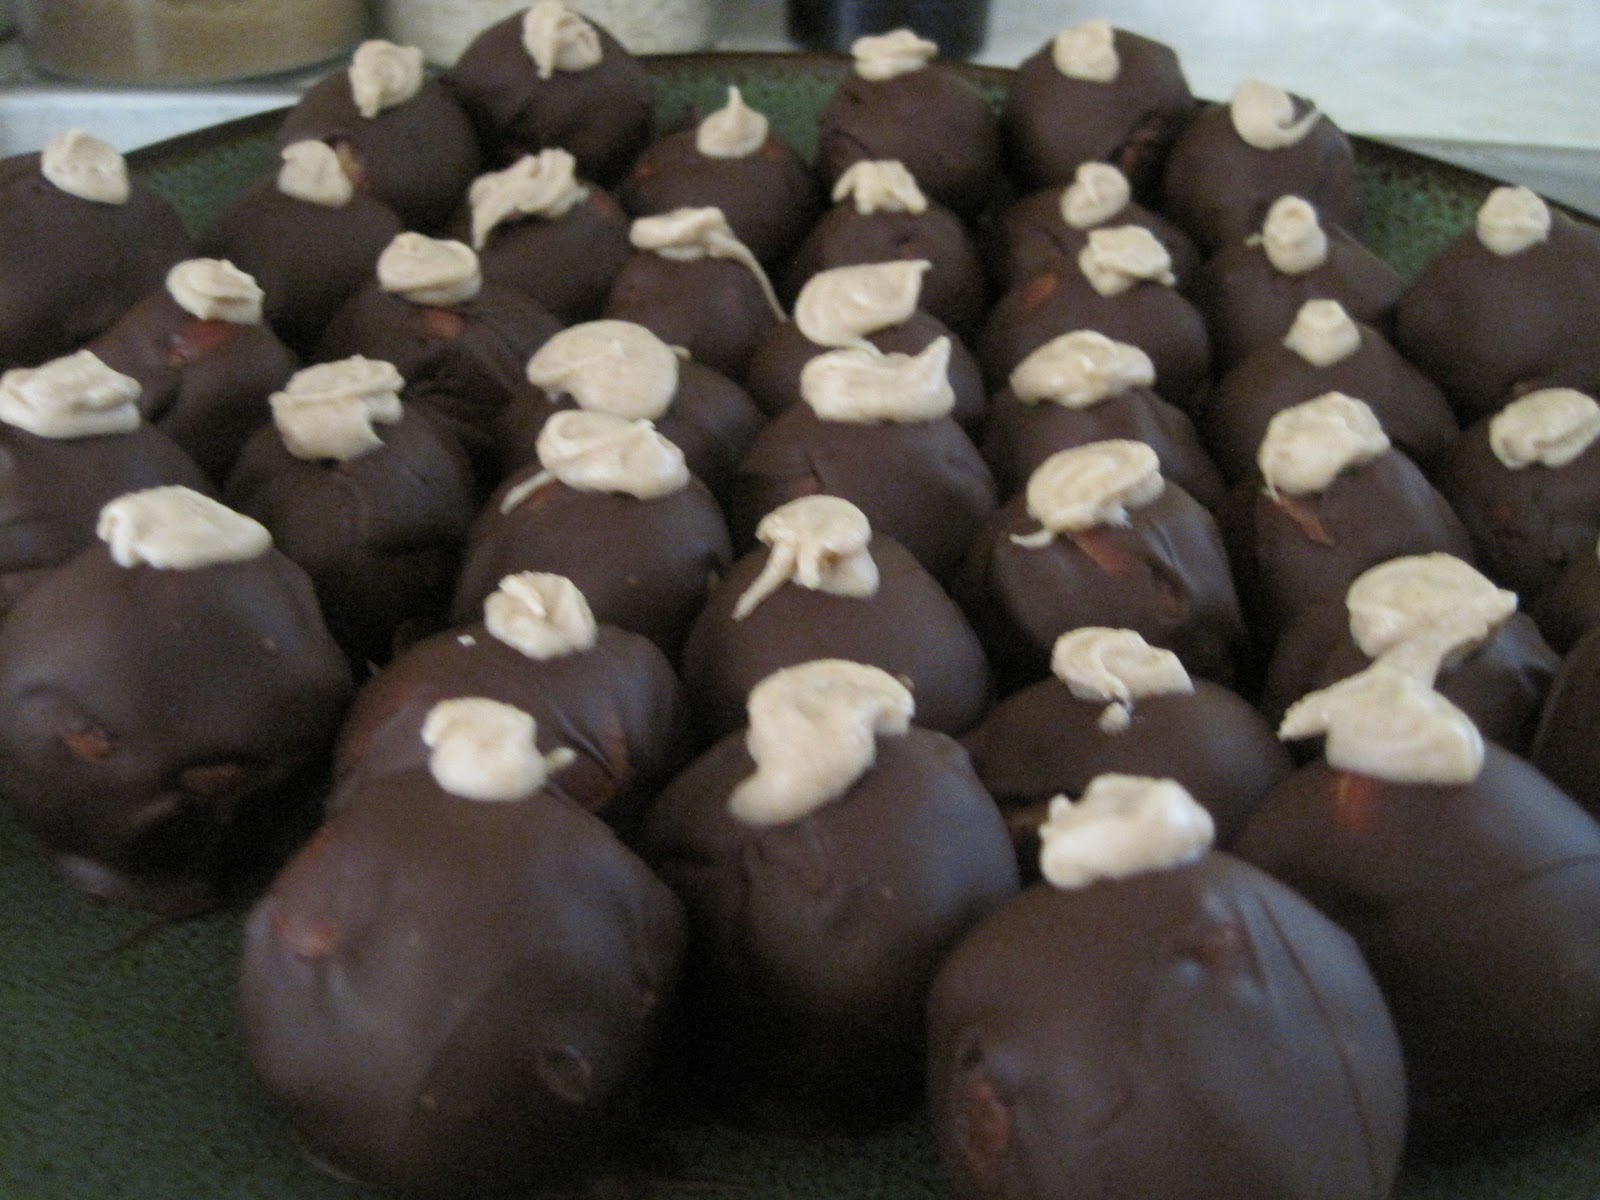
To make the decoration, place the melting chocolate and the maple syrup extract in as mug and place in the microwave for 30 seconds.  Continue to leave the mug in the microwave for about 10 seconds at a time, stirring the chocolate in between each 10 seconds.  Be careful not to burn the chocolate in the microwave.  As soon as the chocolate is melted get a plastic bag and fill it with the chocolate.  Cut the tip of the bag off and pipe on a dot on top of each truffle.  Store in the refrigerator and try not to eat all of them in one sitting.

Wednesday, January 26, 2011

Banana cupcakes with Nutella frosting


I had a jar of Nutella in my cupboard that has been there for a long time.  Today I decided it was time use it, and since I love the combination of Nutella and bananas I decided to make banana cupcakes.  I also wanted to try out piping, something I've never done before.  It was a lot of fun even though what I did was pretty basic.  I think many piping creations are in my future.

For the banana cupcakes you will need:

1 1/2 cups flour
3/4 cups brown sugar
1 tsp baking powder
1/2 tsp baking soda
1/4 tsp salt
1/4 tsp nutmeg
1 stick of melted butter
2 eggs
1/2 tsp vanilla
2 cups of mashed bananas (about 4 bananas)

For the frosting:
8 oz of cream cheese
1/2 cup Nutella
1 tsp vanilla
2 cups powdered sugar

Preheat oven to 350 degrees F.  Whisk together the dry ingredients.  If you live at a high altitude make sure you are adjusting the amount of baking powder you are putting into your mixture.  Make a well in the center and set aside.


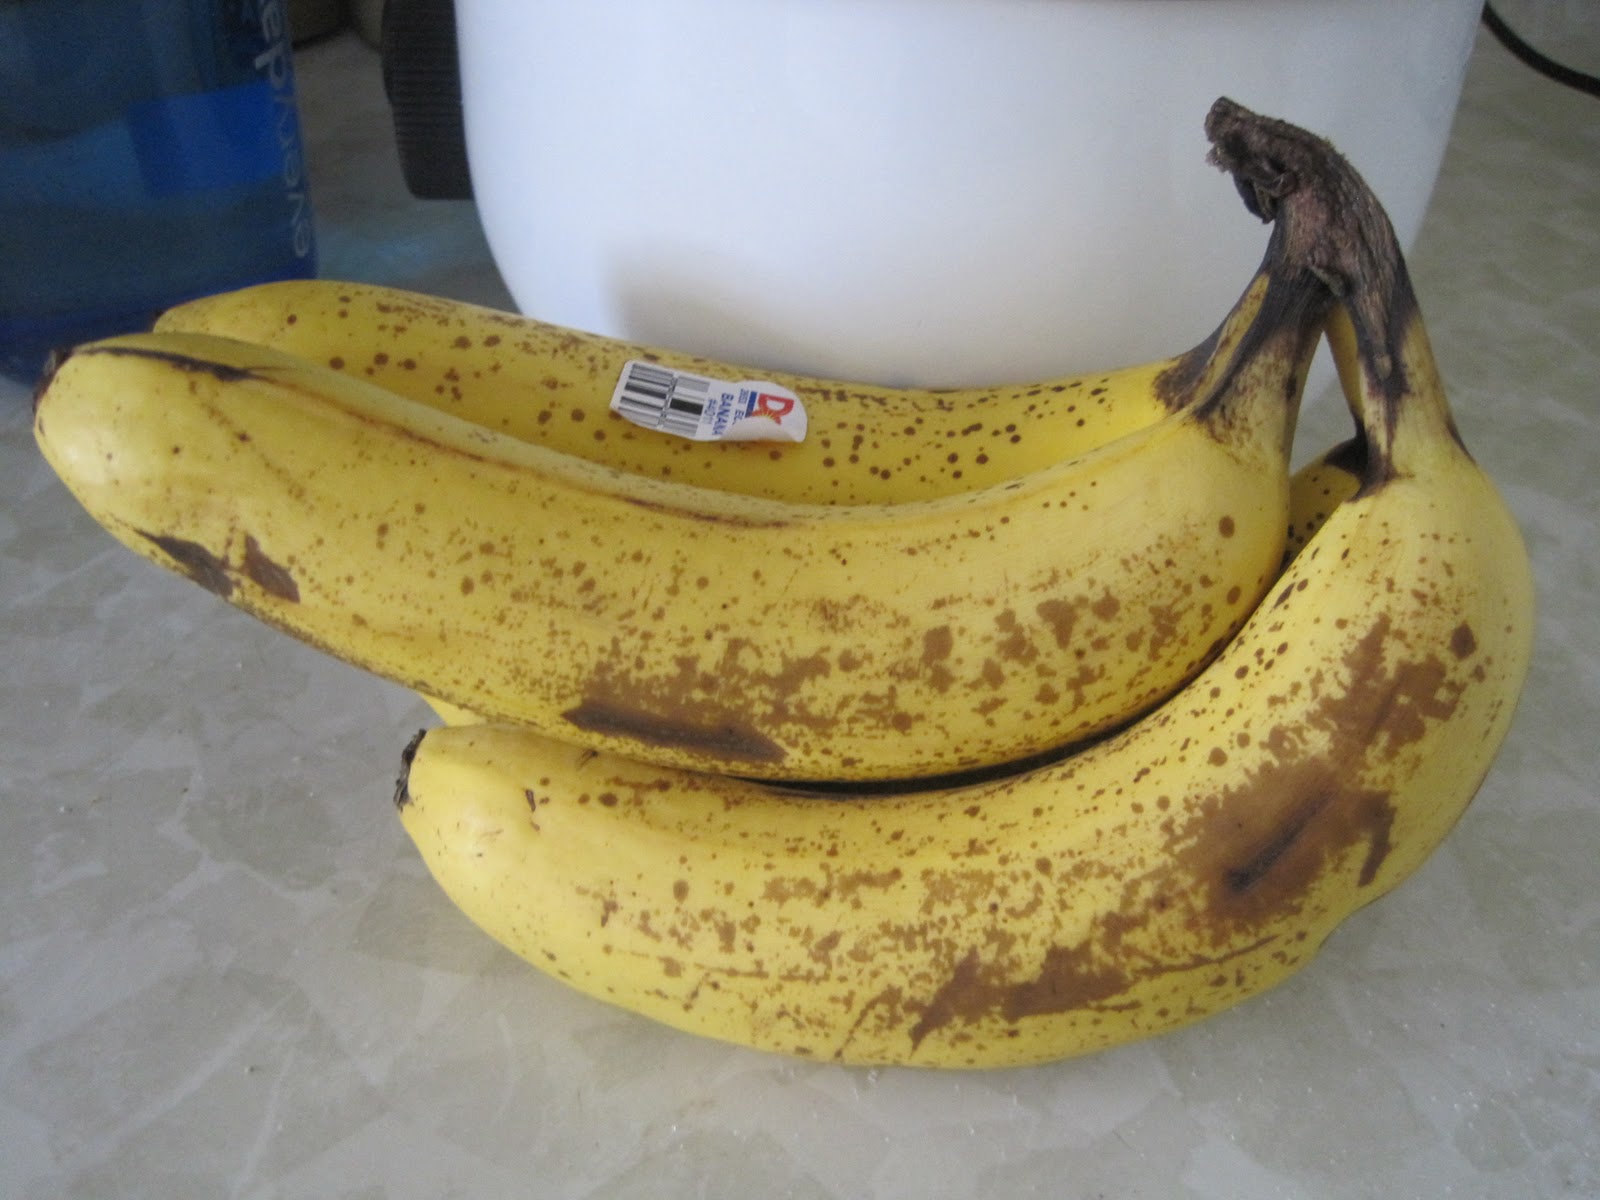
Use ripe bananas, I bought these a week ago and let them ripen on my counter top.
Mash the bananas using a fork or a hand held potato masher.  Add the rest of the wet ingredients and whisk them together until mixture is semi-smooth.
 Pour the wet ingredients into the well you made earlier.  Using a spatula mix the dry and wet together.  Don't use a beater because you don't want to over mix this recipe.  As soon as you can no longer see the dry mixture stop mixing.
Fill the cups about 3/4 of the way full.  Mine made a bit more than 12 cupcakes.  This is okay just make sure you fill the empty cups in the pan with water so that everything gets cooked evenly.

Cook for about 20-25 minutes.

In order to make sure they are done, insert a toothpick into the middle of one, If the toothpick comes out dry it is done.  Remove the cupcakes and allow them to cool.


To make the icing, beat together the cream cheese, vanilla, and Nutella.  Slowly add the powdered sugar.

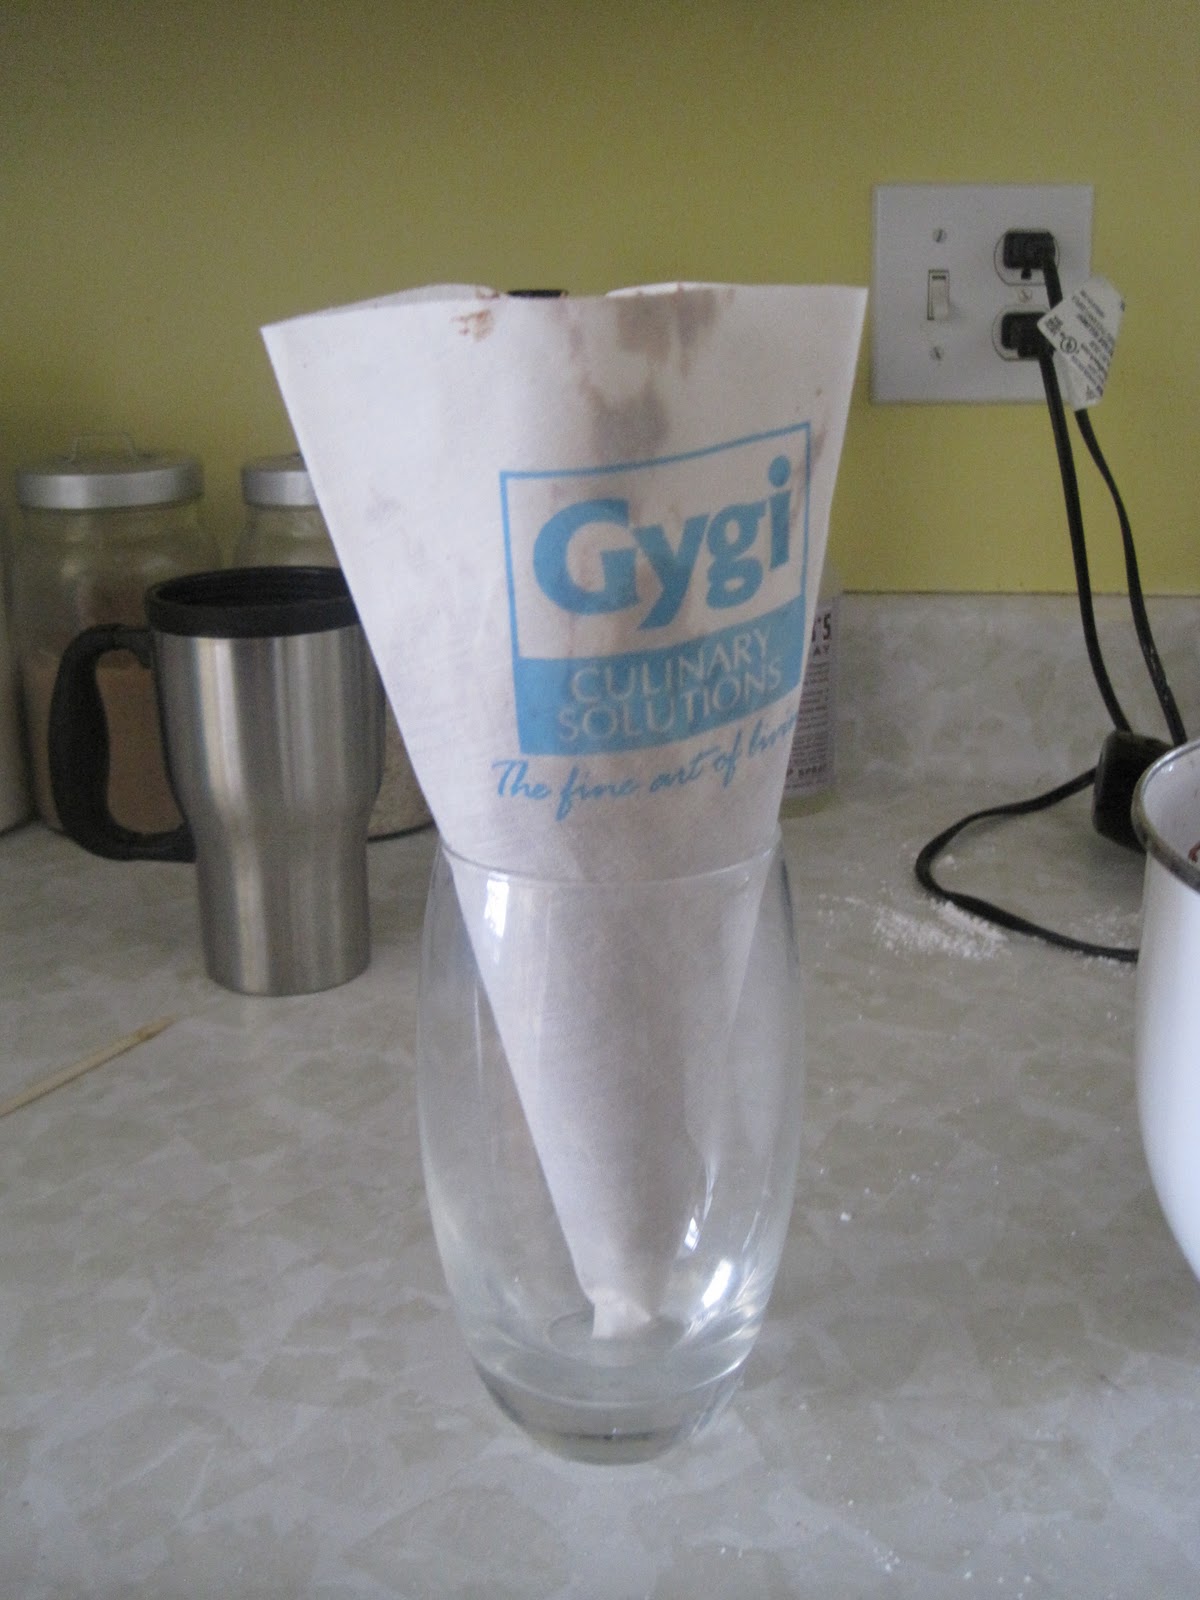
Using a medium star pastry tip, place your pastry bag in a cup and using a spatula fill it with your frosting.
Don't fill the bag to the top, other wise you will have frosting coming out of the top while you are decorating.
Garnish the cupcakes with powdered sugar, and enjoy!  Store in an airtight container otherwise the frosting will harden.


Sunday, January 16, 2011

Rhubarb Tart

It seems that most recipes when using rhubarb shy away from using just rhubarb.  The tart flavor of the rhubarb is not to be feared, and in fact can be quit tasty.  I know rhubarb can be hard to come by so if you don't have any in your garden, or it happens to be winter just use frozen rhubarb.  I bought my puff pastry instead of making it from scratch.  This can be found in the freezer section of your grocery store.  Usually it comes with two sheets of puff pastry,  I like to get the pastry out of the package and let it warm up for about 20 minutes before starting.  This way, when you unfold the pastry it wont fall apart.  If you are using frozen rhubarb set that out for about 20 minutes as well before starting so it is slightly thawed and easier to deal with.
Rhubarb Tart
4 cups of chopped rhubarb (32 oz)
1 cup sugar
2 tbsp cornstarch
2 tbsp water
1/4 tsp cinnamon

For the crumble
1/2 cups flour
3 tbsp brown sugar
1/8 tsp salt
3 tbsp butter
1/4 tsp cinnamon

For a garnish
1 egg
Sugar in the raw

Preheat the oven to 400 degrees F.


Unfold the puff pastry, sprinkle a small amount of flour to prevent sticking and lightly roll over it with a rolling pin.  This is just to even out the pastry and get rid of the fold lines.  Don't fret over making it perfect and don't push down to hard.  If there are any cracks in your pastry drop a tiny bit of water on the pastry and gently push it together until the crack has fused back together.  Using a pizza cutter, or just a plain knife cut each sheet into four squares so you have a total of eight squares.  Place each square on a cookie sheet lined with parchment paper.  I cooked four at a time on a normal sized cookie sheet.  set aside while you make the filling and crumble.
 To make the crumble, mix the flour, sugar, salt, and cinnamon.  Cut in the butter with a pastry cutter or two knives.  mix until the crumble resembles a corn meal.
To make the filling, put the sugar, cornstarch, and cinnamon in a large sauce pan and mix.  Put all of your rhubarb in the saucepan and add the water.  Stir until the rhubarb is evenly coated and then cook on high.  Continue to stir while the mixture is cooking, you don't have to constantly stir just enough to prevent burning.  Cook until the mixture has thickened and is bubbling.  Remove from heat.
beat one egg and brush over all of the pastry squares.  In the center poke several holes with a fork.  If you don't do this the pastry will puff up where the filling is.

using a third cup scoop the rhubarb mixture, press it against the side of the pan to release any excess liquid and place it in the center of the pastry square.  Sprinkle the crumble mixture over the top, you can use as little or as much as you like.
Fold the corners over and try to press them together with your fingers.  This one wouldn't hold together, but it's no big deal.  Brush the outside of the pastry with egg and sprinkle raw sugar over the top.

This is the sugar I use, I think it tastes so much better then regular sugar.  It is a lot more expensive so I only use it for garnishes or coffee.

Place your pastry in the oven and cook for about 15 minutes, or until golden brown on top.  Let the pastry cool for 5-10 minutes....my husband bit into one that was fresh out of the oven and just about burnt his mouth!  You can garnish this with  whipped cream or eat with vanilla ice cream.