Showing posts with label chocolate. Show all posts

Friday, May 27, 2011

Marquise on Meringue

The May 2011 Daring Bakers’ challenge was hosted by Emma of CookCraftGrow and Jenny of Purple House Dirt. They chose to challenge everyone to make a Chocolate Marquise. The inspiration for this recipe comes from a dessert they prepared at a restaurant in Seattle.

This recipe isn't too challenging but it has a lot parts to it so it is a bit time consuming.  The finished product is so tasty and everything keeps really well in the refrigerator except for the meringue.  The Marquise melts really easy so keep it frozen until you are ready to serve.

Chocolate base (used in the marquise recipe)
6tbsp bittersweet chocolate about 70% cocoa
3 oz heavy cream
1/8 tsp salt
1/8 tsp nutmeg
1 Tbsp Frangelico (hazelnut liquor)
1 Tbsp agave syrup (or light corn syrup)
1/4 tsp canilla
1 tbsp cocoa powder
1/2 Tbsp unsalted butter
1 Tbsp ground coffee


Chocolate Marquise
3 large egg yolks at room temperature
1 large egg
2 Tbsp and 2 tsp of sugar
1 tbsp and 1 tsp water
Chocolate base
4 oz cup heavy cream
1/2 cup cocoa powder

Torched Meringue
3 large egg whites
1/2 cup minues 1 tsp of sugar
1/8 tsp vanilla

Roasted Walnuts
1/2 cup sugar
1 tsp cinnamon
1/4 tsp nutmeg
1/2 tsp salt
1 large egg white
1 cup shelled walnuts

Frangelico caramel
1 cup sugar
1/2 cup water
1 cup heavy cream
3/4 tsp slat
2 Tbsp Frangelico

First make the chocolate base.  Melt your chocolate, I just put it in the microwave which can be tricky cause you don't want to burn it.  To be on the safe side it is probably best to melt it using a double boiler.  Add the melted chocolate to the rest of the ingredients listed for the Chocolate base in a large bowl and set aside.


To make the Marquise, place all of the egg yolks and full egg into a mixer and mix on high for about 10 minutes or until the eggs are thick and pale.  When the eggs are just about done, combine your sugar and water in a saucepan and boil until it has reached about 235 degrees F.  Turn your mixer on low and slowly add the sugar syrup into your eggs.  When all of the syrup has been added turn the mixer back on high until the bowl is cool to the touch...about 2-3 minutes.  In a separate bowl whip the heavy cream until it has soft peaks and set aside.  add the chocolate base to the egg mixture and whisk to combine.  Fold 1/3 of the whipped cream into the chocolate mixure, and then add the rest carefully folding in the chocolate so you keep the air in the cream and eggs.
Line a baking pan (8X12) with parchment paper and pour the chocolate mixure in.  Spread it with your spatula and then cover with plastic wrap.  Make sure the plastic wrap is actually touching your Marquise so no air gets trapped inside.  A couple of bubbles here and there are not a big deal so don't worry over them.  Place this in the refrigerator for about 6-8 hours or over night.

Next make the nuts.  Combine all of the ingredients for the nuts in a bowl and mix so that the nuts are evenly coated.  In this picture I used brown sugar and it was too much so above I wrote to use regular sugar instead.  When the nuts are evenly coated pour them out onto a pastry lined baking pan and place in a preheated oven of 350 degrees F for about 15-20 minutes, or until the nuts are lightly browned.  Take them out of the oven and allow them to cool.

Next make the caramel.  I don't have any pictures of me making the caramel because you have to time everything just right otherwise you burn your caramel and I didn't want to mess with the camera.  To make the caramel, put the sugar and water in a saucepan and cook until the water has evaporated and the sugar is a dark mahogany color.  Quickly whisk in the cream to the darkened caramel, you can remove from the heat to do this if you are afraid the cream may overflow.  Return the pot to the heat and mix your caramel with a whisk until all of the hardened sugar has broken up.  When the caramel has darkened to the point you want it remove it from the head and add the salt and Frangelico.

The last thing to make is the meringue.  Beat the egg whites until they become foamy.  With the mixer on high, slowly add the vanilla, and then the sugar.

Continue to mix on high until you have a shiny stiff mixture.  To make sure the sugar is mixed in thoroughly take a bit of the meringue and rub it between two fingers.  If you feel a little grit, that means the sugar is not completely mixed in yet.

To plate, pull the marquise out of the freezer and cut it into 6 even squares.  Roll it in some cocoa powder and place it on a heaping spoonful of meringue.  Torch the meringue using a cooking torch and drizzle with caramel and nuts.  serve immediately....


Sunday, March 27, 2011

perfect chocolate chip cookies

Gooey on the inside and slightly crunchy on the outside, hint of coconut and little melted chocolate morsels.  That sentence perfectly describes my experience as I chomp down on these.  When people first start baking they usually start with cookies or easy sheet cakes.  I was the cookie person.  I absolutely love great cookies and a real classic is the chocolate chip cookie.  This cookie goes great with coffee, hot chocolate, or black tea.  I believe because the chocolate chip cookie goes so great with all three of these drinks this makes it the ultimate comfort food for a cold, wet, night.  Like I stated before it was the cookie that I first started baking when I was new to the science of baking.  I have tried multiple variations and finally I have the recipe which is just perfect.  First you will notice there is no granulated sugar.....brown sugar just tastes better.  Other than that the recipe isn't that different.  A bit more vanilla, flour, and less chocolate chips.  The reason I have less chocolate chips is because I like to enjoy the flavor of the cookie itself with a hint of chocolate.  Some recipes put so much chocolate in there the true tase of the cookie is lost.  For this recipe you will need:

3 1/2 cups unbleached flour
1 tsp baking soda (if you are at a high elevation make it a scant tsp)
1/2 tsp salt
1 cup unsalted butter (melted)
1 1/2 cups brown sugar packed
2 tsp vanilla extract
2 eggs
1 cup semi-sweet chocolate chops
1 cup coconut
1 cup walnuts (opt)
My butter is cubed in the photo, but I found out later that it works better melted. mix melted butter with brown sugar.  mix it until you can't see the butter anymore and the mixture is creamy.  Add the vanilla and the eggs.
Sift all of your dry ingredients into a bowl.  If you look at the bottom of the picture you can see where I dropped my small camera into the flour....oops!  Switch to a paddle mixer before adding the dry ingredients.  While the mixer is on low, slowly add the flour mixture.  If you go to fast you will have a flour mess.  After the flour is completely mixed in, add the coconut, chocolate chips, and nuts if you are using them.
Now this next instruction is very important.....don't eat all of the cookie dough!  I snagged a couple of bites but I was able to retrain myself so I would have enough room in my belly for the cooked cookies.
Preheat the oven to 375 degrees F.  Lightly grease a cookie sheet and scoop onto the sheet leaving about an inch of space between them.  I use a cookie scoop, it makes everything so easy and all of my cookies are the same size so I don't have to worry about uneven baking.  Bake the cookies for about 8-10 minutes and allow to cool a bit before eating.

 
Serve with your hot drink of choice.  This is a picture of my coffee and all of my cookies.....just kidding I had help eating these.  These cookies store really well in the freezer, or the refrigerator depending on how long you want them to last.  I suggest storing them in the freezer cause they will taste fresh for a lot longer, just let them warm up on the counter for a couple of minutes before you eat them :)


Saturday, March 26, 2011

Conchas (Mexican Pastry)

I am married to a Mexican and he loves conchas.  I really wanted to make him authentic conchas and it took me a couple of tried to get it right.  He is extremely picky about his conchas and he told me this recipe was truly a winner.  I got the bread recipe from the San Antonio cookbook by the San Antonio junior forum.  The bread is "Pan de Huevo"  or egg bread.  The top I came up with by using a couple different recipes and modifying them to fit my taste.

Pan De Huevo
1 TBSP dry yeast
1 TBSP sugar
1/4 c warm water
3 2/3 c bread flour
1 tsp salt
1/3 c sugar
2 TBSP shortening
5 eggs slightly beaten at room temperature.

Topping
1 1/3 cup sugar
1 c butter
2 c flour
4 tsp cinnamon
4 tsp cocoa powder
First in a small bowl, dissolve the yeast and 1 tbsp of sugar in the warm water.  You want the water to be warm enough to wake up your yeast, but not hot enough that it will kill it.  I make the water about 100 to 110 degrees F.  Put this bowl aside and let the yeast do it's work.  After about five minutes you will notice that the yeast mixture is starting to get bubbles.  The yeast is producing carbon  dioxide, this is what allows bread to rise and gives it the airy soft texture.
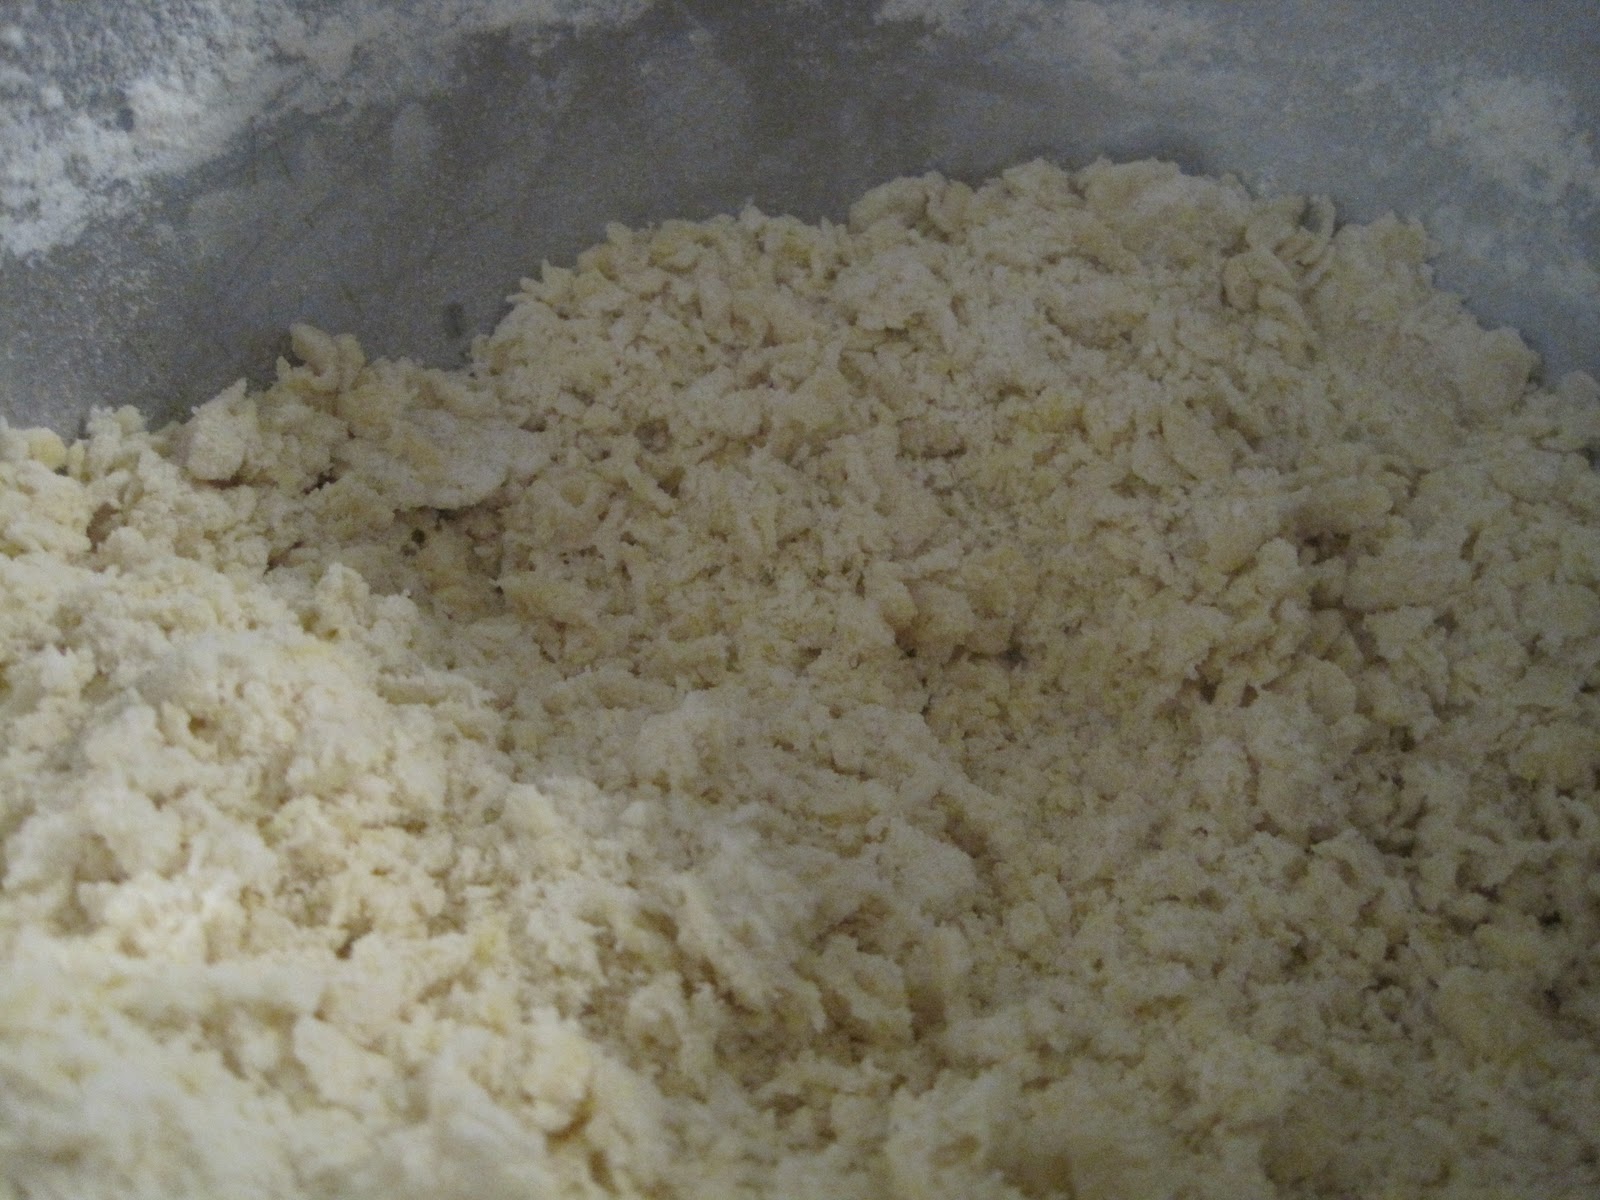
While your yeast is working hard get a larger mixing bowl.  Add 3 cups of the flour, salt, sugar, and shortening.  Mix until you get a texture that resembles the picture on the right.  It is almost the same texture pie crust has before you add the water.  When the yeast is done doing it's work (about 5 minutes)  Add it too your flour mixture along with two eggs.  when this is completely mixed add the rest of the eggs.  Slowly add the rest of the flour.
Your dough should be smooth and elastic, yet slightly sticky.  To get the dough out, butter up your hands and your work surface.
Using your buttered fingers, not a rolling pin, gently flatten out your dough until it is a square about 1 1/2 inches thick.
Cut the square into 16 little squares. (4x4)  Roll those squares into balls.  If they aren't even, no sweat, just take a bit of dough from the bigger ones and add that to your smaller ones.  In the end, try to make your balls as even as possible so they cook evenly.  Place your dough balls two sheet pans, eight on each, and cover them with plastic wrap.  Store them in a draft free, warm place for about an hour and a half or until the balls have doubled in size.  A little side note, I left my conchas four a couple of hours because I got busy and they rose for too long.  This was bad because some of them deflated, and when the bread was baked it tasted really sour and disgusting.  Lesson learned, I had no idea you could leave bread to rise too long!

While your dough is rising, make the topping.  For the topping beat the sugar with the butter.  Stir in the flour until the mixture is a thick paste.  Divide into two parts.  In one half knead in the cinnamon and in the other half, the cocoa powder.  Shape each flavor into eight even balls (about 2 TBSP) and then place them in the refrigerator.
When the dough is done rising get your topping balls out.  Flatten each ball and place it over the dough balls.  Lightly press down with the palm of your hand.  The topping should completely cover the dough ball.  Make sure you do all chocolate on one tray and all cinnamon on the other cause they look similar and you will mix them up if you don't keep them separated.
Using a small knife, lightly cut the topping into a design.  It doesn't matter what the design is you can be creative.  I just did it the traditional way which is supposed to help the concha resemble a shell.  When you are done cover them again with plastic and let them rise a second time for about an hour and a half, or until they have doubled in size.  When they are done rising pop them in the oven at 350 degrees F for 12-15 minutes or until they are golden brown.  Make sure you bake them on the middle rack so the bottoms don't burn!


Serve warm with coffee or Mexican Hot Chocolate (Abuelitas by Nestle is the best!)


Tuesday, March 15, 2011

Hazelnut chocolate tart

I wanted to make these because I bought a set of six little tart pans, perfect for one serving and I was dying to use them.  If you are a chocolate lover you will love this tart.  For the filling I used agave syrup which you can find in the baking section of any grocery store.  If you don't want to use agave syrup you can substitute it with corn syrup.  I got the idea for this recipe from the "Golden Book of Desserts".  The idea came from the chocolate pecan tart.  These tarts were so good but next time I may roast my hazelnuts first.
Here is what you will need:

 Pastry
1 1/4 cups flour
1/2 cup confectioners sugar
1 large egg yolk
7 tbsp cold butter
2-3 tsp iced water

 Filling
1/2 cup of coarsely chopped dark chocolate
1/4 cup butter
2/3 cup firmly packed brown sugar
2/3 cup agave syrup
3 large eggs, lightly beaten
1 tsp vanilla
2 cups chopped hazelnuts

First make the pastry.  In a bowl add the butter, flour, and confectioner sugar.  Mix this with a pastry cutter.  I like to start with a pastry cutter and then use my hands.


Mix until it is crumbly.  Add the egg yolk and 2 tsp of water.  Mix this using your hands.  Add more water 1 tsp at a time until you are able to pull the dough together into a nice ball.  I ended up using 4 tsp of water.  It will depend on the moisture in the air on how much water you will need.


wrap the ball in plastic wrap and let it rest in the refrigerator for about 30 minutes.
Take your pastry dough out of the refrigerator and cut it in half.  Roll out one half to about 1/4 inch thick.  To lift the dough roll it lightly around your rolling pin and place a pastry tin in front of it.  Gently unroll the dough over the top of the tin.  Using your fingers, push the dough down and into the sides of the tin then push your hand down over the top using the top of the tin as a cookie cutter.  Remove the excess and roll it out again.  Repeat this six times with all of your tins, then return them to the refrigerator for 30 minutes.
Preheat the oven to 350 degrees F.

Line each tart shell with parchment paper and fill with beans, or pie weights.  Place in the oven for about 15 minutes, or until a light golden brown.


To make the filling,  put your chocolate chips in a double broiler and cook over a slightly simmering water until full melted.  Beat the butter, and brown sugar together until creamy.  Add the agave syrup and beat again until smooth.

While the mixer is on low, slowly add the egg, vanilla, and then chocolate, continue to mix until everything is incorporated.  Stir in the hazelnuts by hand.

Pour the filling into your pastry shells and cook for about 30 minutes or until set.  This tart cooks like a pecan pie, when it jiggles slightly in the middle it is done.


Allow the tarts to cool, and then remove them from there tins.  Decorate however you like.  I sprinkled powdered sugar on mine, then cut a flower out of a piece of paper.  Using the flower as a stencil I placed it on each tart and sprinkled cocoa powder on them.  You can also garnish them with melted chocolate and roasted hazelnuts.  Serve with whip cream or ice cream.


Monday, March 7, 2011

Cream puffs with vanilla and chocolate pastry cream


I mad these for my sister for her 18th bday.  Though they are a bit time consuming, they are really easy to make.  You can make the pastry cream ahead of time but I suggest making your choux pastry the day ahead because pastry always tastes better the fresher it is.  I made two different kinds and then garnished the chocolate ones with melted chocolate so I could tell the difference between the two.  The recipe below will make more than enough pastry cream, and you will probably have a little bit left over.  I think it is better to have more than less so you don't feel like you have to ration the amount of cream you are putting into these puffs.  With cream puffs, the more cream the better I say!
I got this recipe out of a book called "The Golden Book of Desserts" edited by Ann McRae.
Choux pastry
1 Cup water
1/3 cup butter
1 cup unbleached flour
2 tsp sugar
1/4 tsp salt
4 large eggs

Vanilla Pastry cream
5 large egg yolks
3/4 cup sugar
2 tbsp corn starch
pinch of salt
2 cups milk
2 tsp vanilla

Chocolate pastry cream
5 large egg yolks
3/4 cups sugar
2 tbsp corn starch
pinch of salt
2 cups milk
2 tsp vanilla
5 oz of chocolate

First make the pastry cream.  Beat the egg yolks until the are pale and creamy.  Next add the corn starch and salt, beat until completely mixed and set aside.  In a sauce pan bring the milk to a boil on a medium heat occasionally stirring.  When the milk is boiling slowly pour it into your egg mixture and stir.  Return everything to the stove and cook on low heat continuously stirring with a wooden spoon.  If you are unable to break up the lumps that form use a whisk.  Boil for a full minute or until mixture has thickened.  Remove from the heat and add the vanilla.

When you are done place in a bowl and cover with plastic wrap.  gently push the plastic down until it is touching the top of the cream, this will prevent a skin from forming as it cools.  To make the chocolate cream, follow every step except for add the chocolate to the milk as you are bring it to a boil.  When the milk is boiling and all of the chocolate has melted add it to your egg mixture.  Allow both creams to cool on the counter top for about half an hour.  Place in the refrigerator until you are ready to use it.

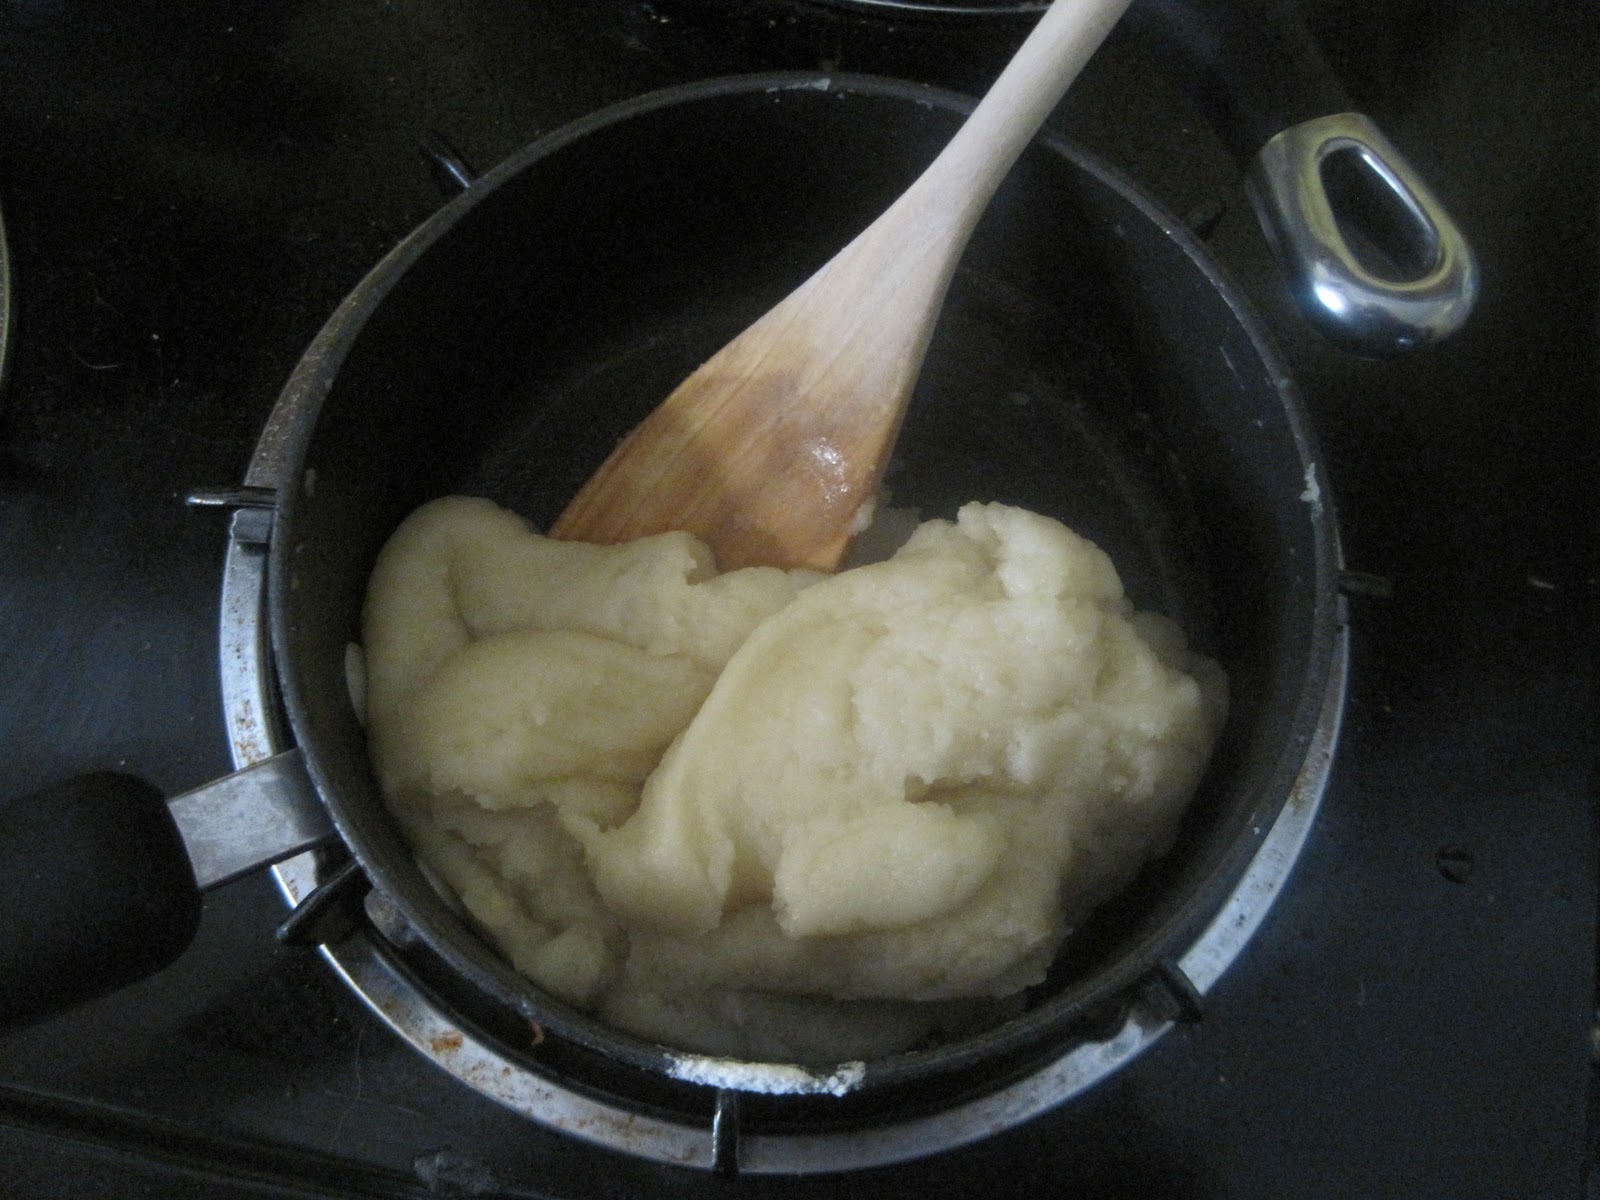
For the Choux pastry, preheat the oven to 350 degrees Fahrenheit.  In a saucepan bring the water and the butter to a boil on low heat.  Make sure you don't cook it to long or on a high heat otherwise your butter will brown.  Will the butter is heating up combine the sugar, flour, and salt in a small bowl.  When your butter mixture is boiling, add the flour mixture to it stirring constantly until it comes away from the sides of the pan and starts looking like a soft dough.  Remove from heat, and let cool for five minutes.

Beat the eggs in one at a time.  When you are done the mixture will be a sticky glossy dough.


Fit your pastry bag with a plain nozzle and fill it up half way with the choux pastry.


On pastry lined baking sheets pipe walnut sized balls about about 2 inches apart.  Place in the oven   Bake for about 20- 25 minutes or until golden brown.  When done poke with a skewer or a small knife on the bottem of each puff to release steam.  Turn your oven off and leave it slightly ajar with the pastries still inside for about 15 minutes, then transfer them to a rack.  Turn the oven back on, when it is back to 350 degrees F, place your second batch in.  This is the most time consuming part!


Wait until your pastries are completely cool until moving on to the next part.  Fit a pastry bag with a small plain tip and fill half way with either the chocolate cream.  Using the holes you made earlier to realease steam, fill half of the puffs with the chocolate cream.  Do the same with the other half and the vanilla cream.  Garnish with powdered sugar, melted chocolate, and whipped cream.  I made these for seven people and they were gone withing a couple of minutes.  Even though we each had enough we could have eaten more.  I would say this recipe fully satisfies five people, the recipe makes forty small cream puffs so that would be eight per person.  This seems like a lot but the are so light and creamy that eight seems like a reasonable serving to me ha ha!
P.S. This was my attempt at a swan, it was a lot harder then I thought it would be!