Tuesday, December 21, 2010

Gingerbread house


This was my first gingerbread house.  I have always loved gingerbread houses and I was always intimidated by the idea but it really wasn't that bad.  I made the gingerbread using the same recipe found in my other gingerbread post labeled 'Gingerbread dogs'.  I doubled that recipe and added about 1/2 a cup of flour to make the cookie a bit stronger for building. 

To make the pattern copy these measurements using a ruler and a piece of paper.  Cut out the measured pieces and place them on the rolled out gingerbread.  Cut it out using a small knife.
To make the base I just trimmed my remaining dough into this shape and made sure it was longer than 7" and wider than 6".

To make the windows and the door I just cut squares free hand.  To make the door I just cut a square out of my left over dough.  Before baking off the pieces with windows smash up some lifesavers, I used red and orange ones.  Fill the window holes with the broken pieces of lifesavers, after the dough has been cooked the lifesavers will make a glass look which light can be seen through.

To make the Royal icing, which will be your glue you will need:


3 egg whites
1 tsp of vanilla
1/4 tsp of peppermint extract
4 cups of powdered sugar
Beat the egg whites, vanilla, and peppermint extract until the eggs resemble the picture above.  This will take about 2-3 minutes.  Put your mixer on low and slowly add the powdered sugar, after all of the powdered sugar has been added turn your mixer back on high and beat until you have glossy peaks.

While gluing the gingerbread house together use bottles to help support the walls until the frosting has hardened.  Before adding the roof wait a couple of hours to ensure that the walls are firmly in place.

After everything has been put in place decorate it however you like.  I placed mine on a cardboard base which I cut a hole in.  I also cut a hole in the bottom of my gingerbread base.  I bought a flame less candle which is battery operated and placed my gingerbread house on top of it.

I can't wait to eat it!

Monday, December 20, 2010

peppermint marshmallows


I was watching the food network channel once and saw them make home made marshmallows on iron chef.  I had no idea you could make your own marshmallows, and like anything it turns out that taste so much better then the store bought kind.  I also realized there are endless possibilities.  you can make marshmallows any flavor you want, dip them in chocolate or nuts, and make them any color you want.

In celebration of Christmas I made peppermint ones.  Here is what you will need:

courtesy of Betty Crocker
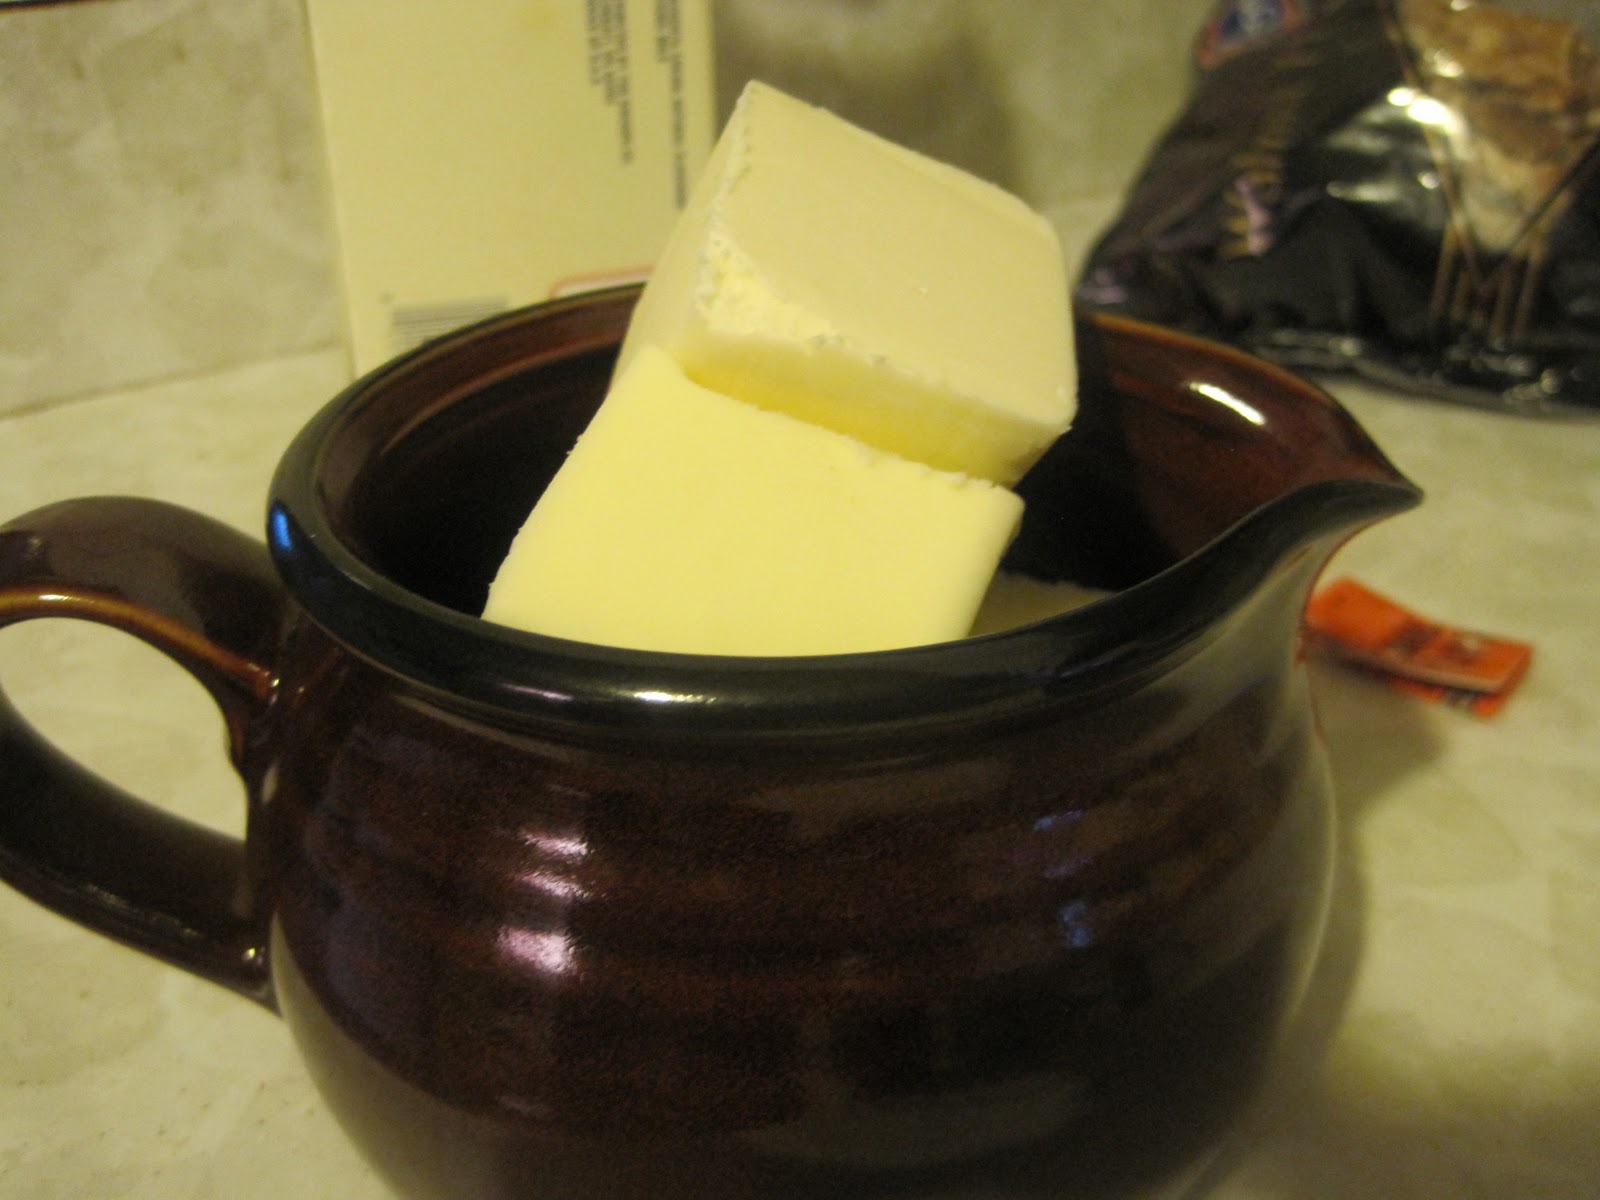
Butter
1/3 cup powdered sugar
2 1/2 tbsp unflavored gelatin
1/2 cup cold water
1 1/2 cups granulated sugar
1 cup corn syrup
1/4 tsp salt
1/2 cup water
1 tsp peppermint extract
red and green food coloring

Grease a 2 quart casserole dish with butter and than sprinkle it with powdered sugar.  When making marshmallows powdered sugar is your friend, otherwise you will end up with a sticky mess.


In your mixer put the 1/2 cup of cold water, and sprinkle the gelatin over it.  Set this aside, after a couple of minutes it will look like the picture above.

In a 2 quart saucepan heat up the granulated sugar, corn syrup, 1/2 cup water, and salt.  Stir constantly on low heat until sugar has completely dissolved.  Turn up the heat to medium and bring the syrup to a boil.  Allow the syrup to boil without stirring until the syrup reaches 240 degrees Fahrenheit.  To check the temperature use a candy thermometer.  You can get a candy thermometer at the grocery store and they are fairly cheap.

When the syrup has reached this temperature remove it from the heat.  Turn your mixer with the gelatin in it on the lowest speed and slowly pour the syrup in.  Make sure you are pouring the syrup down the sides of the mixer so it doesn't splash onto you.  That would be a nasty burn.

After all the syrup has been poured in gradually speed up your mixer to medium high.  Allow the mixture to mix until it becomes white and shiny.  Add the peppermint and mix it in for a minute.


Pour the mixture into your casserole dish.  I lined mine with parchment paper which makes for an easier extraction.  Just make sure you sprinkle your parchment paper with powdered sugar.  add some food coloring and fold it into your marshmallows with a spatula.  If you want the whole marshmallow to be one color and you don't like the swirl effect, add your food coloring in at the same time you add your flavoring in.  Spread the mixture out and then put a couple more drops of the coloring on top.  Swirl it with a toothpick.  You can smooth the top of your mixture with a spatula which has been dipped in warm water.

Let your marshmallows sit uncovered in a protected area for at least four hours.

After your marshmallows have set sprinkle some powdered sugar onto your counter top and dump your marshmallow out of its container.  If it is sticking to the parchment paper put some powdered sugar on your fingers and slowly work the marshmallow off of the paper.  Using a knife which has powdered sugar on it cut your marshmallows into cubes.  Place the cubes in a bowl with powdered sugar making sure all sides of the marshmallow have been covered in powdered sugar.  Shake the excess off.

You can store your marshmallows in an air tight container in the refridgerator for up to 3 weeks

Tastes great in hot chocolate......

Wednesday, December 15, 2010

Rye Bread


About six months ago I decided to make my own bread.  Usually I just make whole wheat bread, but the other day I was in the grocery store and saw Rye flour.  Rye bread is my absolute favorite, and it turns out it is pretty easy to make, it just takes time.

Homemade Rye Bread
courtesy of Emeril Lagasse
1 envelope dry yeast
3 tbsp melted butter
1 egg
1 cup warm milk (110 degrees F)
1 cup rye flour
1 1/2 tsp salt
2 1/2 cups unbleached flour
1 tbsp caraway seeds
1 tsp vegetable oil
1 large egg beaten (to brush over the bread before baking)

First heat your milk to about 110 degrees and add the yeast

This is a picture of the yeast after it has sat in the warm milk for a couple of minutes.  Yeast is a type of fungus which requires moisture and sugar, or starch to grow.  Since it is a living organism and you don't want to kill it by putting it in a liquid that is too hot.  If your liquid is to cold the yeast will stay inactive and your bread will not rise.  Yeast changes sugar into carbon dioxide which is why your bread rises.

Place your yeast mixture, one egg, and melted butter in an electic mixer with a dough hook.  Beat on a low speed for 1 minute.  Add the salt, rye flour, unbleached flour, and caraway seeds.  Beat this at a low speed until all of the flour is incorproated.  Then, beat at a meduim speed until the mixture forms a ball and eaves the sides of the bowl.
The amount of humidity in the air is a factor when baking.  If your dough fails to do this and remains a bit sticky at the bottom of your mixture add a small amount of flour.
Remove your bread from the hook and smooth it inot a ball.  lightly oil a bowl and place the dough in the bowl turning it until the ball is covered with oil.  Cover with plastic wrap and then set aside in a warm place for about an hour.  This picture is actually a picture of my whole wheat bread but it is the same concept, I didn't have a picture of my rye bread at this stage.

After an hour your bread should have doubled in size.  If not you can let it sit for a bit longer, make sure the place you set it in is warm.  If it hasn't grown at all, you may have used inactive yeast.

Remove the dough from the bowl and knead it a couple of times on a floured surface.  Tuck it, and roll it until you can't see any seams and place it on your baking sheet.  Cover once again in plastic wrap and allow to rise for about an hour.

Preheat your oven to 350 degrees F.

Using a pastry brush, brush your beaten egg all over the surface of your bread.  This will give your bread a nice golden shine.

Bake the bread until it is browned, about 45 minutes, then move and let it cool on a rack.

Saturday, December 11, 2010

Monkey Bread!

This is the ultimate comfort food, when it's cold outside eat this hot with a cup of coffee or hot chocolate and curl up by the fire.  This desert can either be quick and easy or if you want to go all out and make your own bread it can be a little tricky.  I went the quick and easy route because I was not patient and I wanted to eat this for breakfast.  My husband and I only allow ourselves these indulgences once a week and if you make your own bread it takes two days (you have to let the bread rest in the refrigerator overnight.) 

Since I have made this many people asked me why it was called monkey bread and I had no answer.  I researched this and still found no answer.  It seems that no one really knows why this bread is called monkey bread.  A lot of people seem to guess that this is called monkey bread because people gather around at it and pick at it like a bunch of monkeys but I don't know how accurate that is.  I tried to think of a rational explanation and I really couldn't think of one.  Maybe if the recipe called for bananas that would make a bit more sense, come to think of it, adding bananas is not a bad idea. 

This recipe is not very strict and you can add whatever you want to it.  My little addition was the nuts but you can add chocolate chips, pecans, raisins, bananas (if it makes you feel better to call it monkey bread if it has bananas in it) or different spices, it's up to you.

Monkey bread recipe:
recipe from Pillsbury crescent recipe creations

1/2 cup sugar
1 tsp ground cinnamon
2 cans Pillsbury Grands Home style refrigerated buttermilk biscuits
1/2 cup chopped walnuts
1 cup packed brown sugar
3/4 cups melted butter


Heat your oven to 350 degrees Fahrenheit.  Divide each biscuit into quarters and then roll the quarters into balls.  Grease a bundt pan and set to the side.  Get a zip loc bag, the easiest size to work with will be a gallon but you can improvise with smaller sizes.  Put your granulated sugar and cinnamon in the zip loc bag and make sure it is mixed.  Place your bread balls into the bag five at a time and shake them until they are evenly coated by the cinnamon-sugar mixture.  When the balls are coated remove them from the zip loc bag and start arranging them into your pan.  They don't have to be smashed together just placed next to and on top of eachother.
With each layer sprinkle some of the walnuts evenly on top and some of the cinnamon-sugar mixture.  When you are done finish of the rest of the nuts and pour the excess cinnamon-sugar mixture on top.
When you are done with all of the biscuit pieces, melt your butter and then mix it with the brown sugar.  Pour this mixture evenly over your bread.

Place in the oven for about 30 minutes, or until it is no longer doughy in the center.  If the top is browning and the middle is still not cooked you can either lower your pan so that the top is not so close to the top heat source in your oven, or you can cover the bread with tin foil.

When it is done let it cool for about 10 minutes and then loosen the sides with a spatula.  Place a plate on top of your bundt pan and then flip over.

If you want to save time and eat this for breakfast you can do all of the steps except for the butter and brown sugar step the night before.